6.0 Online Registration Management

6.1 What is Online Registration in Yuran.my?
Online Registration is a feature in Yuran.my that allows parents to register student into the system easily through an online form.
6.2 How Does Online Registration Works?
This flow chart shows how the online registration works in Yuran.my
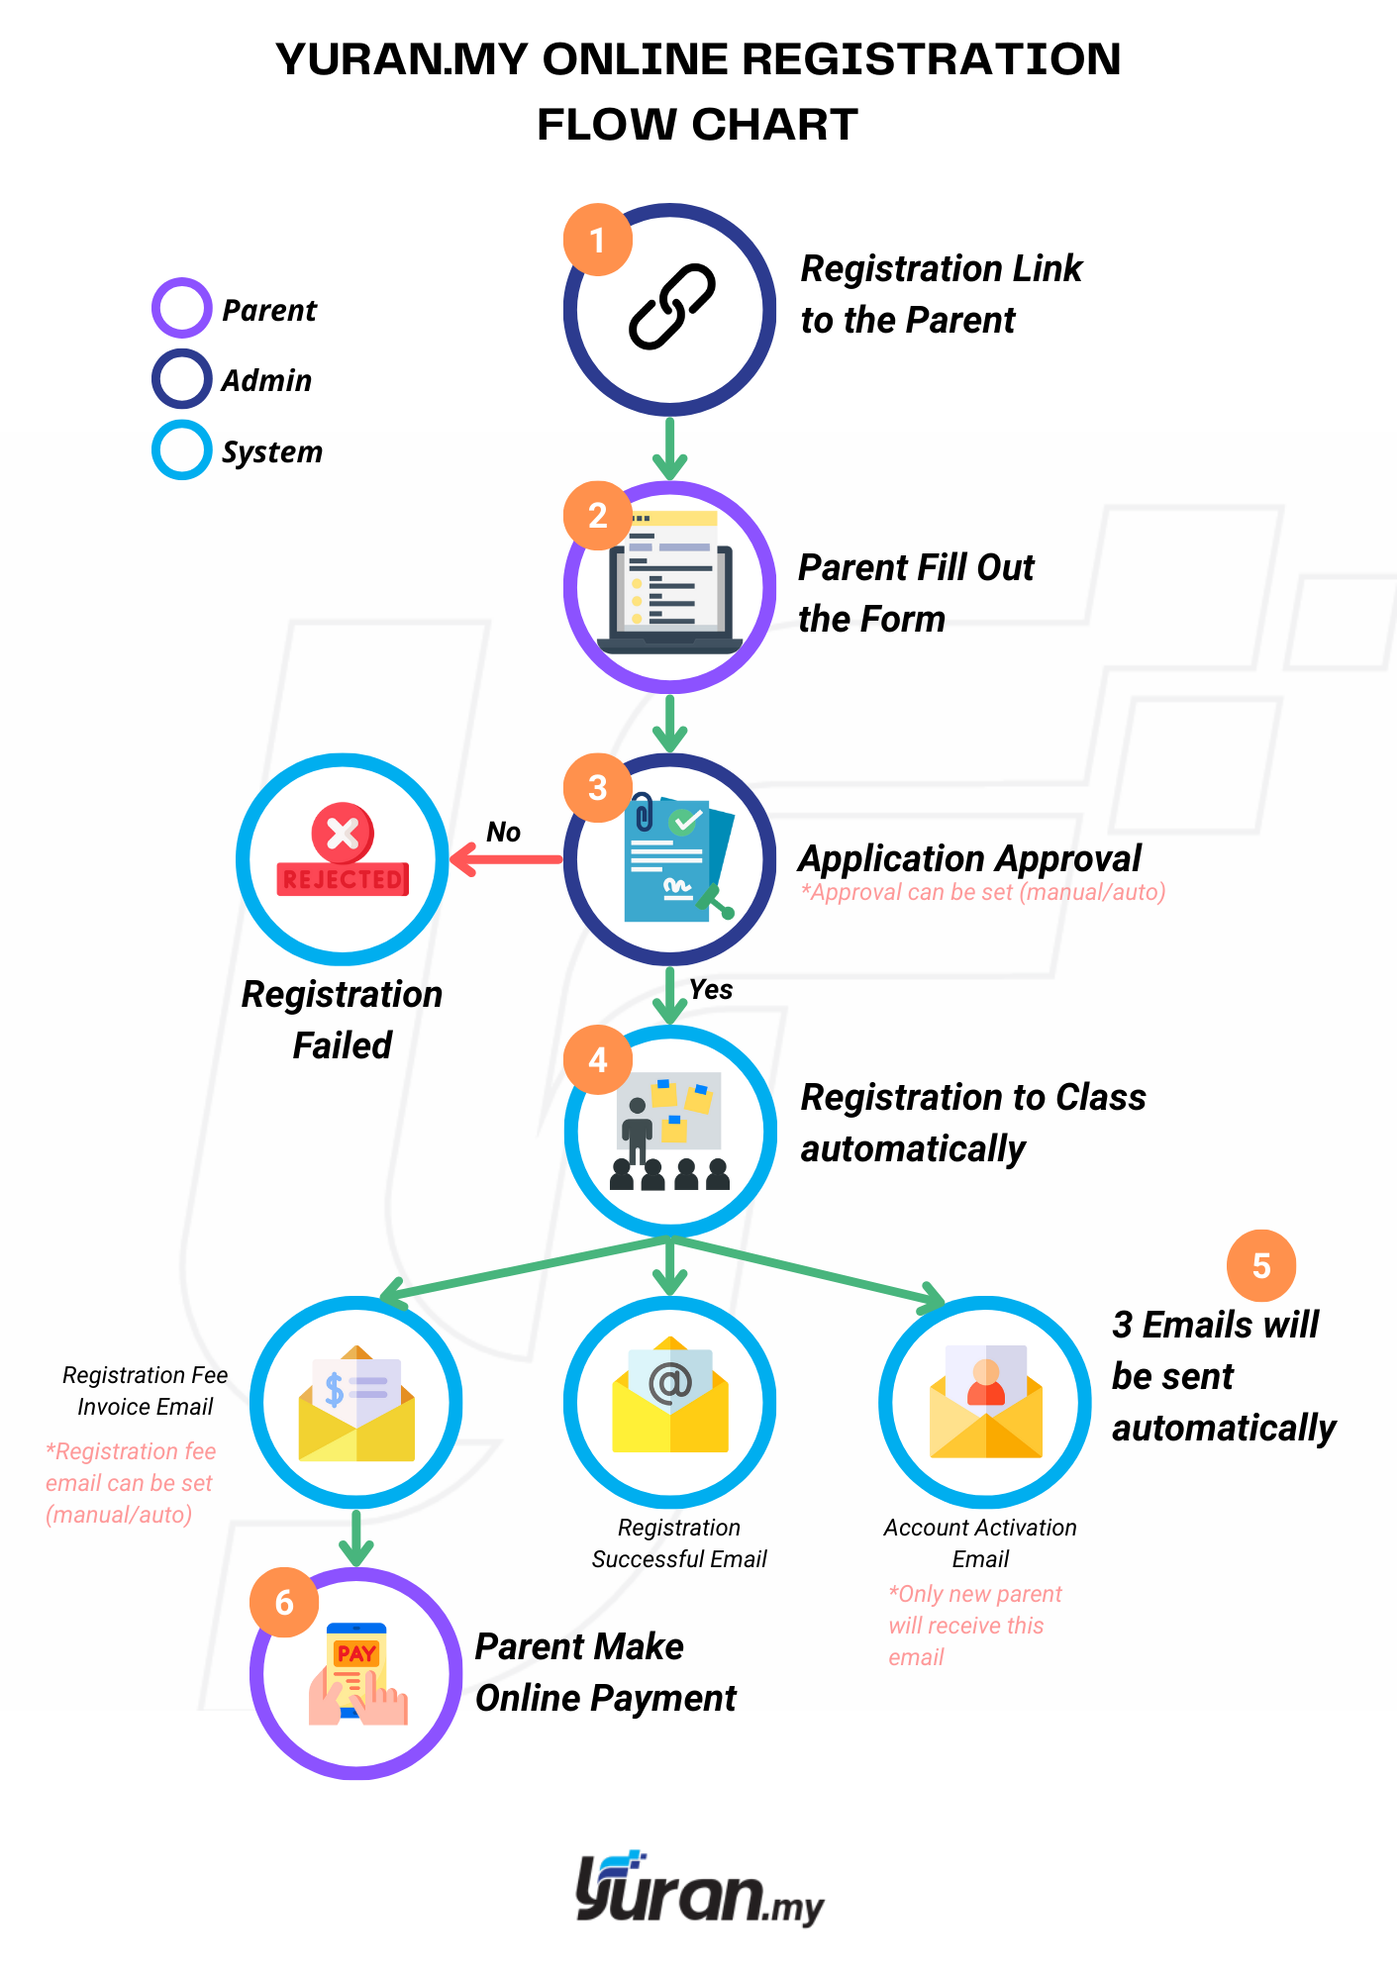
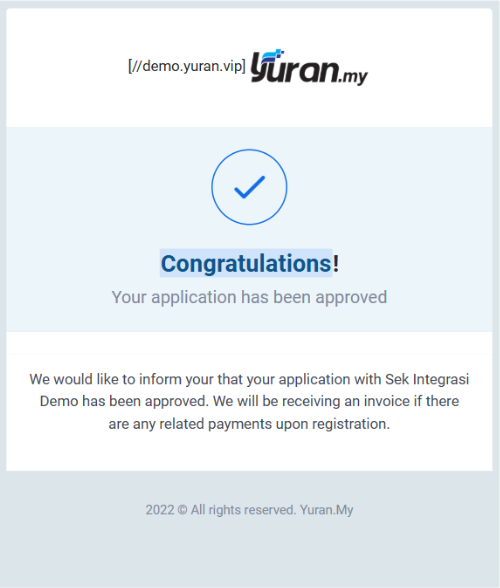
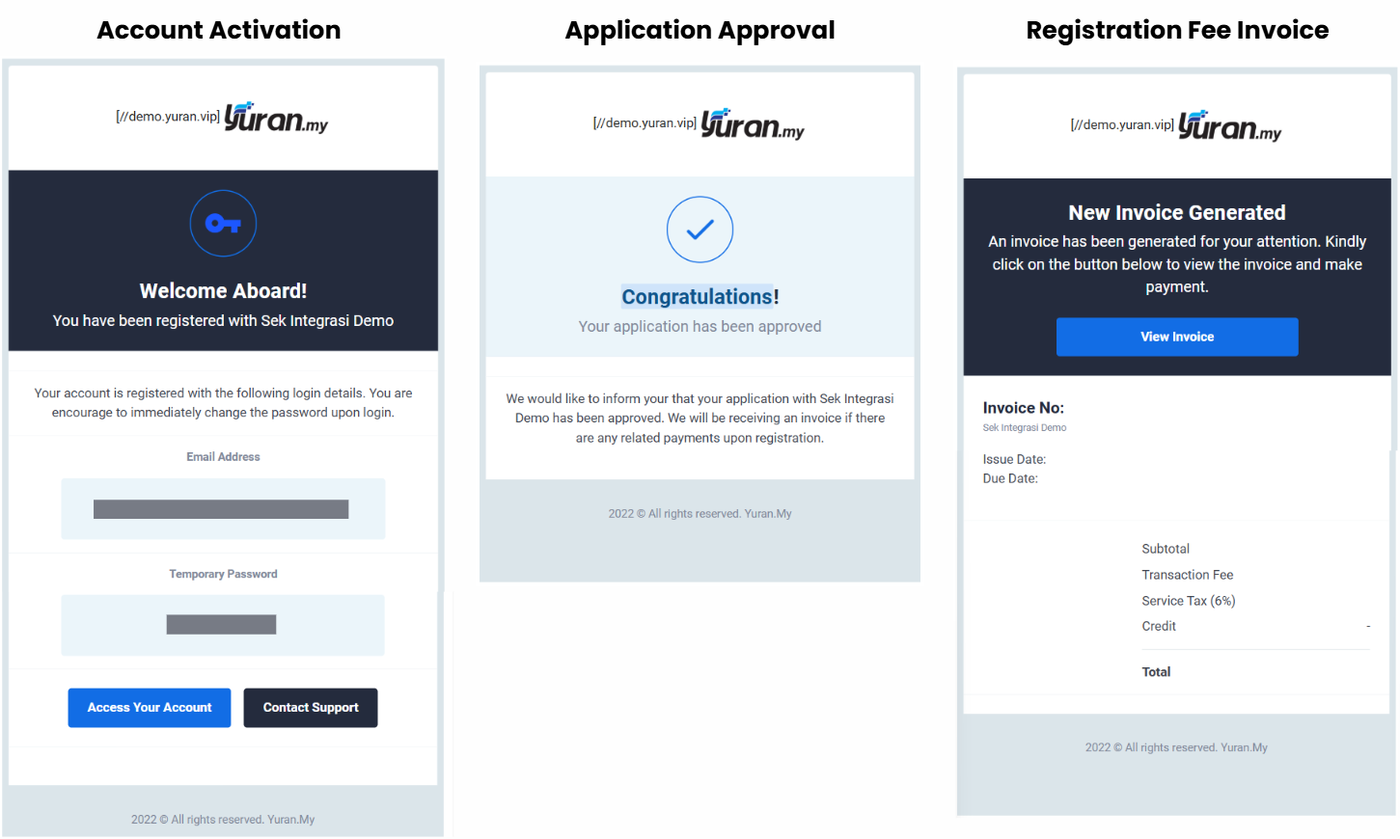
These are the three(3) emails:
6.3 Registration Link
There are two (2) types of links that can be shared with parents for registration purposes either a general system registration link or one that is specific to a class that is open for enrollment.
https://subdomainname.yuran.vip/register
- Parent can choose class for general link
https://subdomainname.yuran.vip/register/classname
- Parent don't have to choose the class for specific link
6.3.1 How to Enable Classes/Events during Registration?
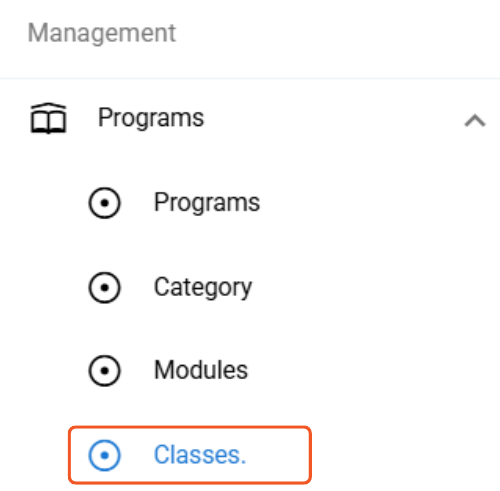
Step 1: Click Programs -> Classes/Events menu at the left panel under Management category.
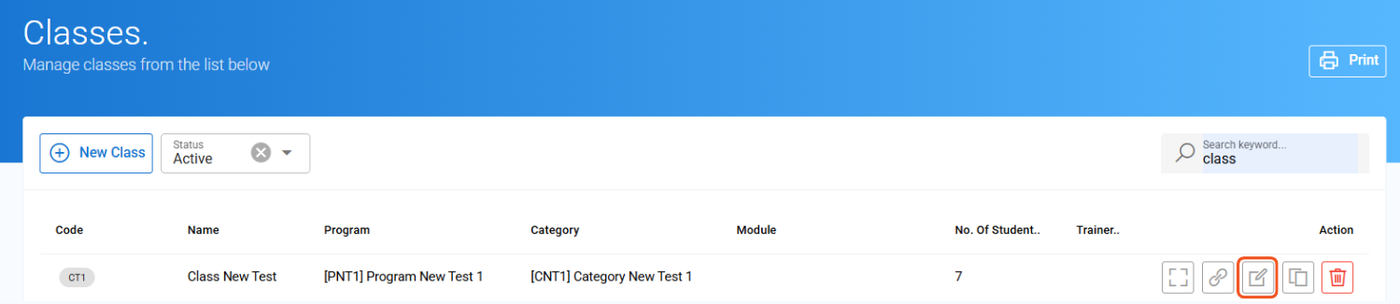
Step 2: Choose which Class/Event. Then, click the Edit icon.
Step 3: On the Edit Class/Event form, tick on the Temporary checkbox to enable registration. Then, click "Update".
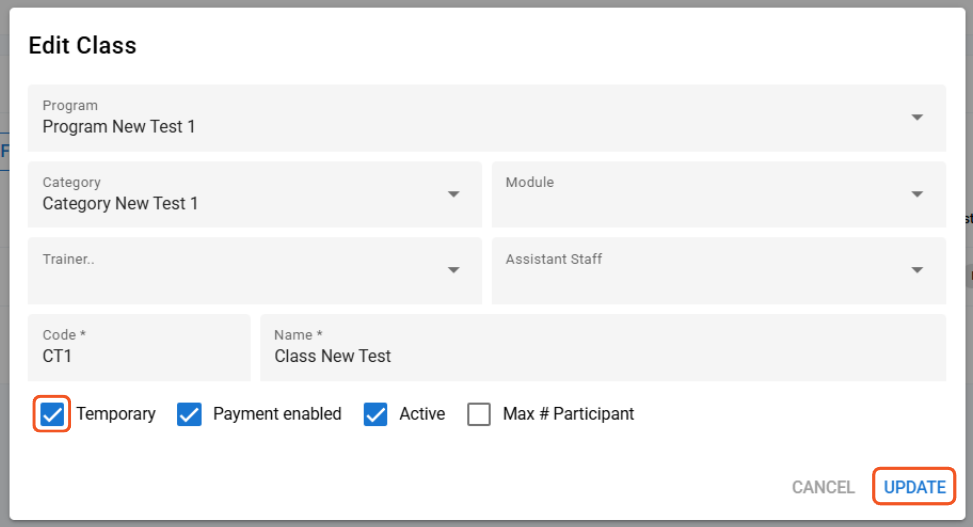
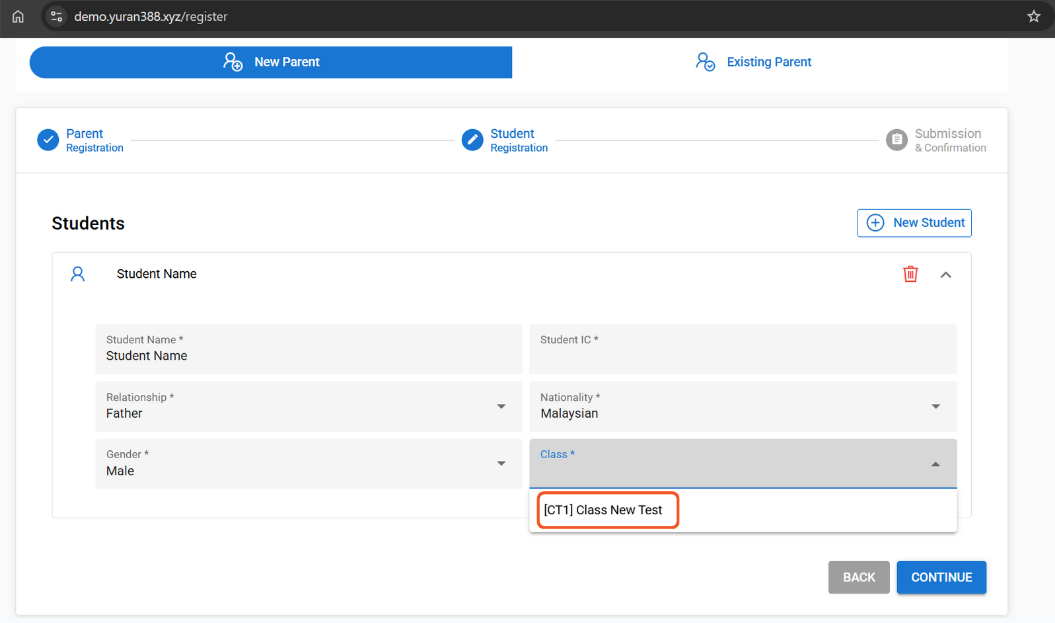
Step 4: Once you has clicking on the Temporary checkbox, new user able to choose the registered events/classes directly during the registration process.
6.3.2 How to Share Class-Specific Registration Link
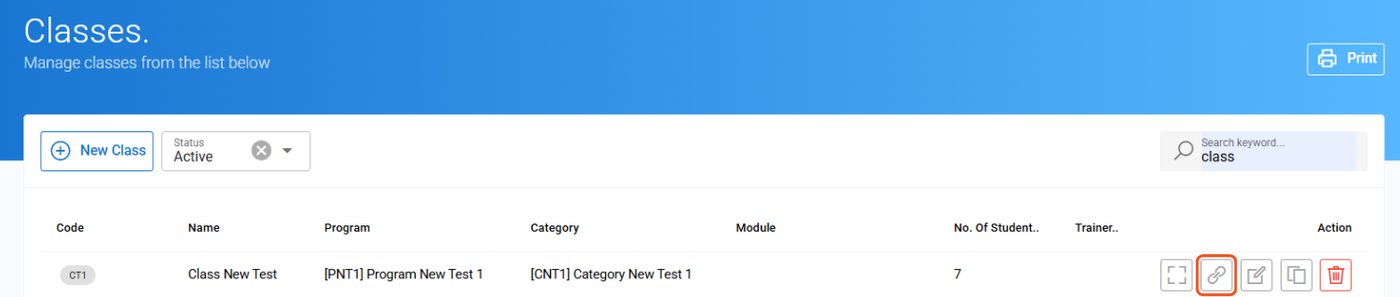
Step 1: On the Class/Event menu, choose the class/event that is open for registration. Click the "Share Link" icon to copy the class registration link.
Step 2: Share the link with people who you want to let them to make a registration.
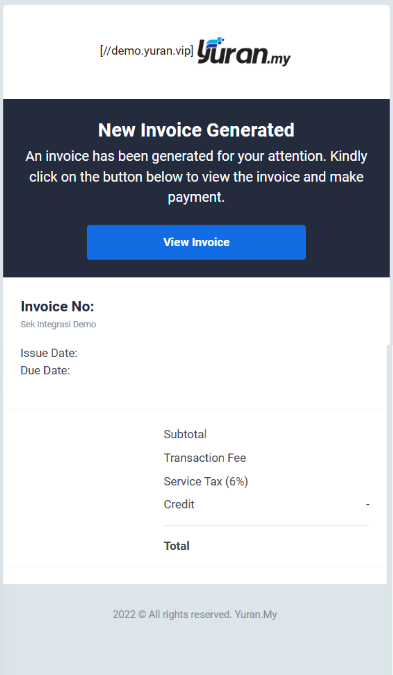
6.4 Registration Fee
Once parents have registered a student for a class, the system can automatically send the registration fee invoice to them via email. The parent can immediately pay for registration fee after approval.
6.4.1 How to Enable Registration Fee Payment after Registration
There’s 2 main steps to enable registration fee payment after registration
1. Set the Registration Fee
Step 1: On the left panel, click Classes/Events

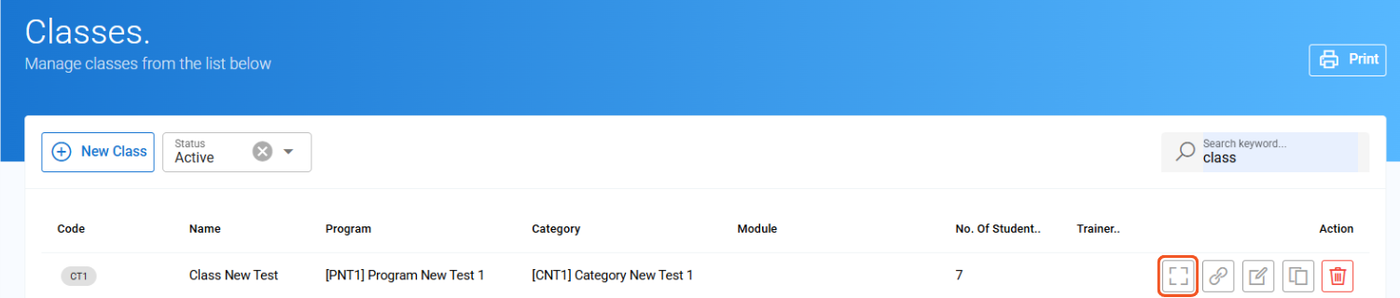
Step 2: Choose the Class/Event and then click the "View" button
Step 3: In the Class/Event details, click the Fee Details
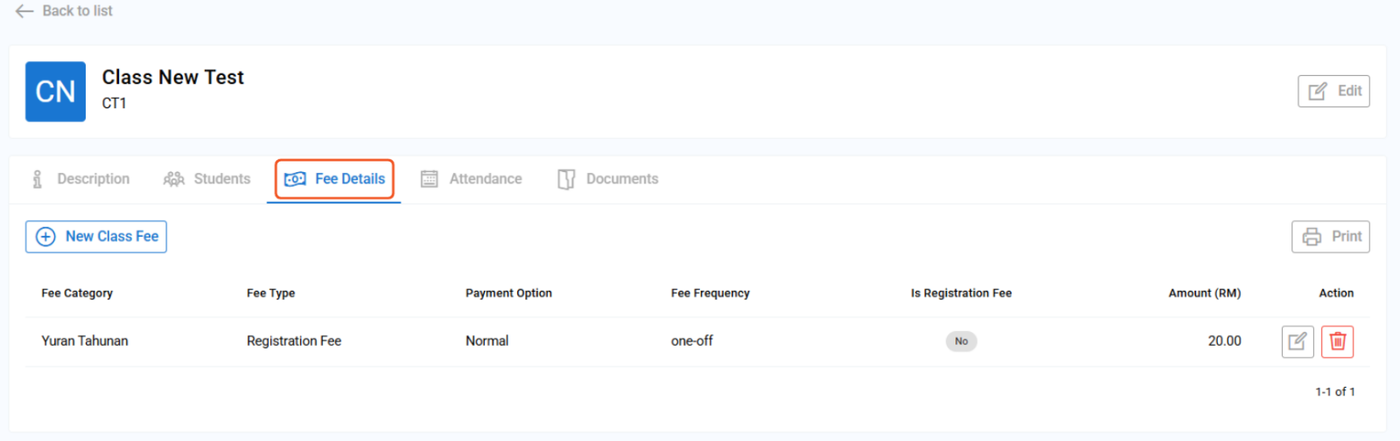
Step 4: On the Registration Fee, click the Edit button

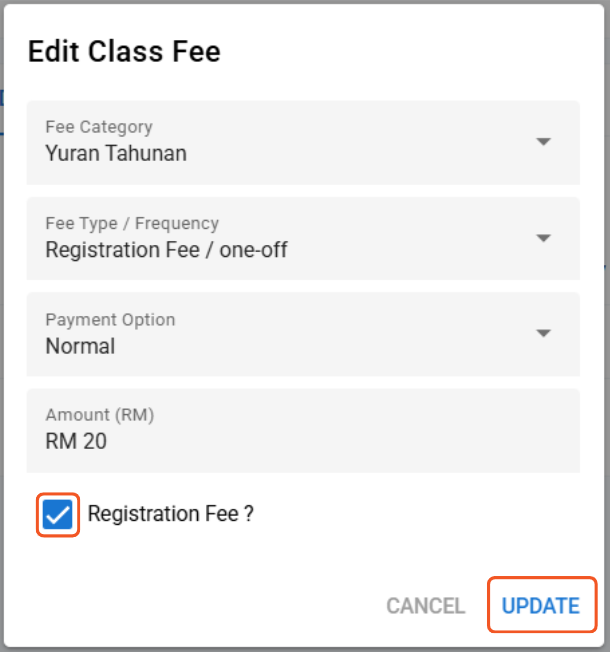
Step 5: On the Edit Class Fee Form, check the “Registration Fee?” box then click "Update"
2. Enable the Registration Fee
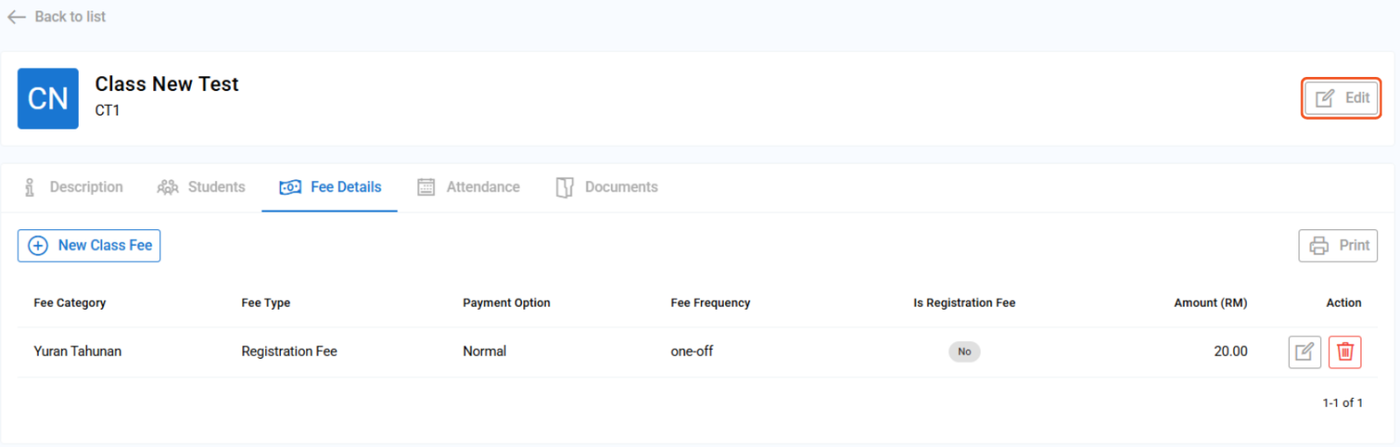
Step 1: On the Class/Event details page, click on "Edit" button.
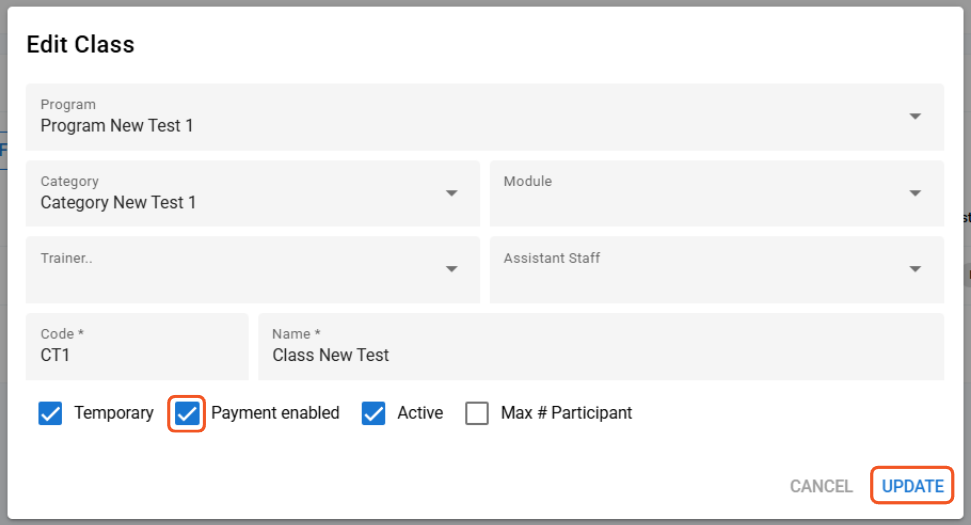
Step 2: The Edit Class/Event form will show up. Then, tick on “Payment Enable” box and click "Update".
Additionally, Edit Class/Event can also be done in Classes/Events menu.

6.5 Types of Registration Form
There are two (2) types of forms that can be set by the management to obtain information about the parent and student registering for classes, namely the Default Form and the Simplified Form.
| Default Form | Simplified Form |
|
Consists overall information needed including mandatory and non-mandatory |
Only consists of mandatory information needed. |
6.5.1 Default Form
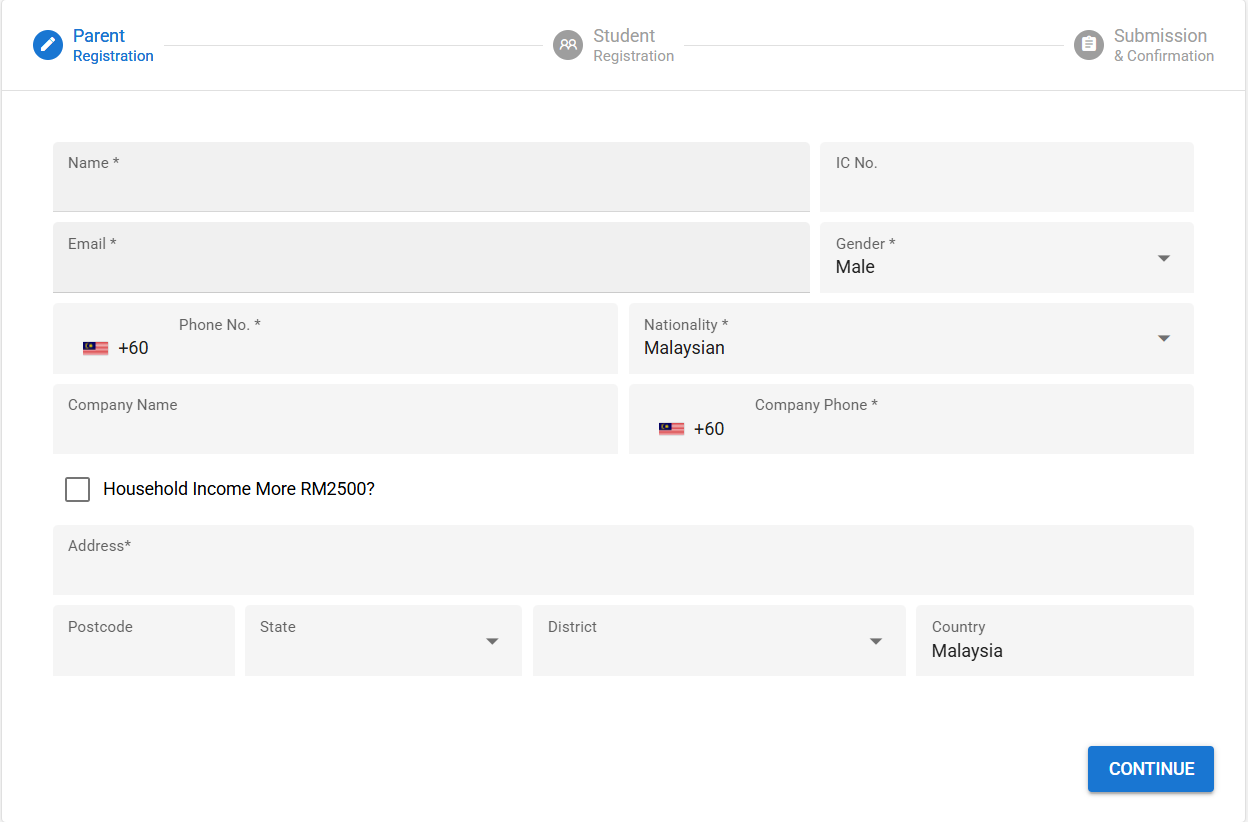 Parent Registration (Default Form)
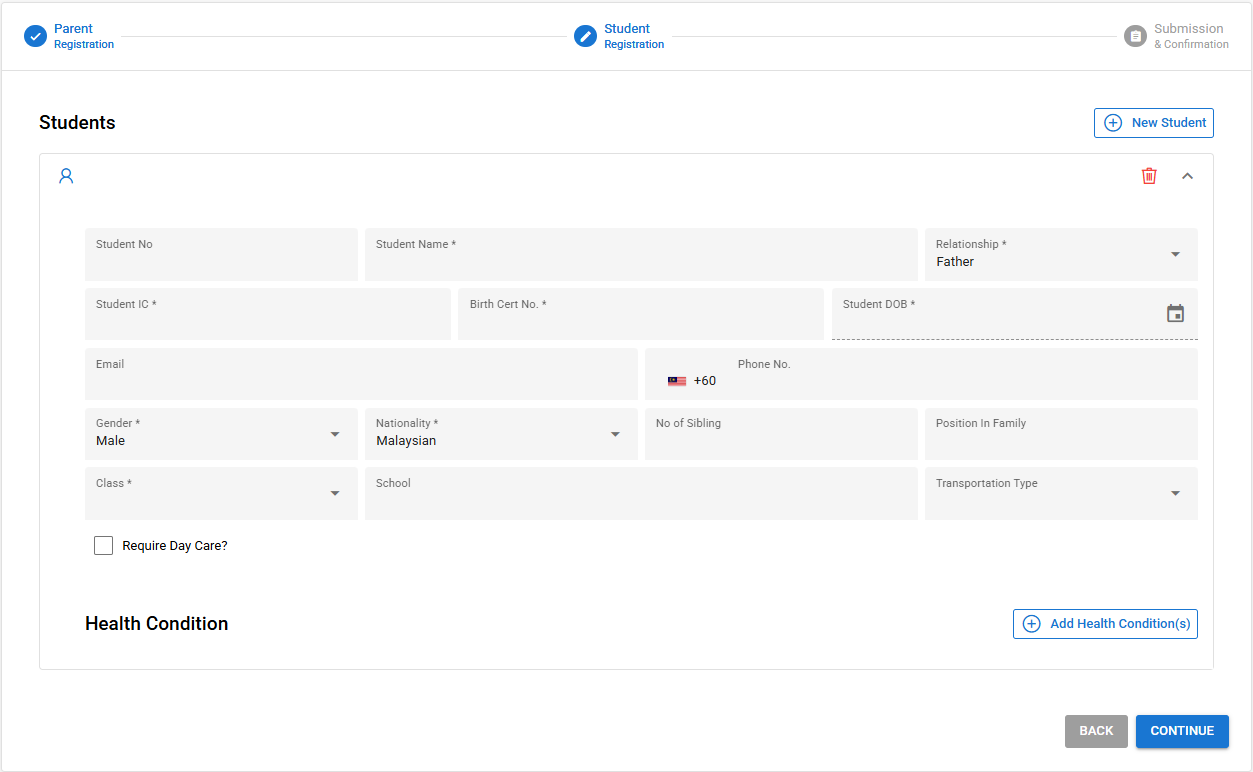 Student Registration (Default Form)
6.5.2 Simplified Form
 Parent Registration (Simplified Form)
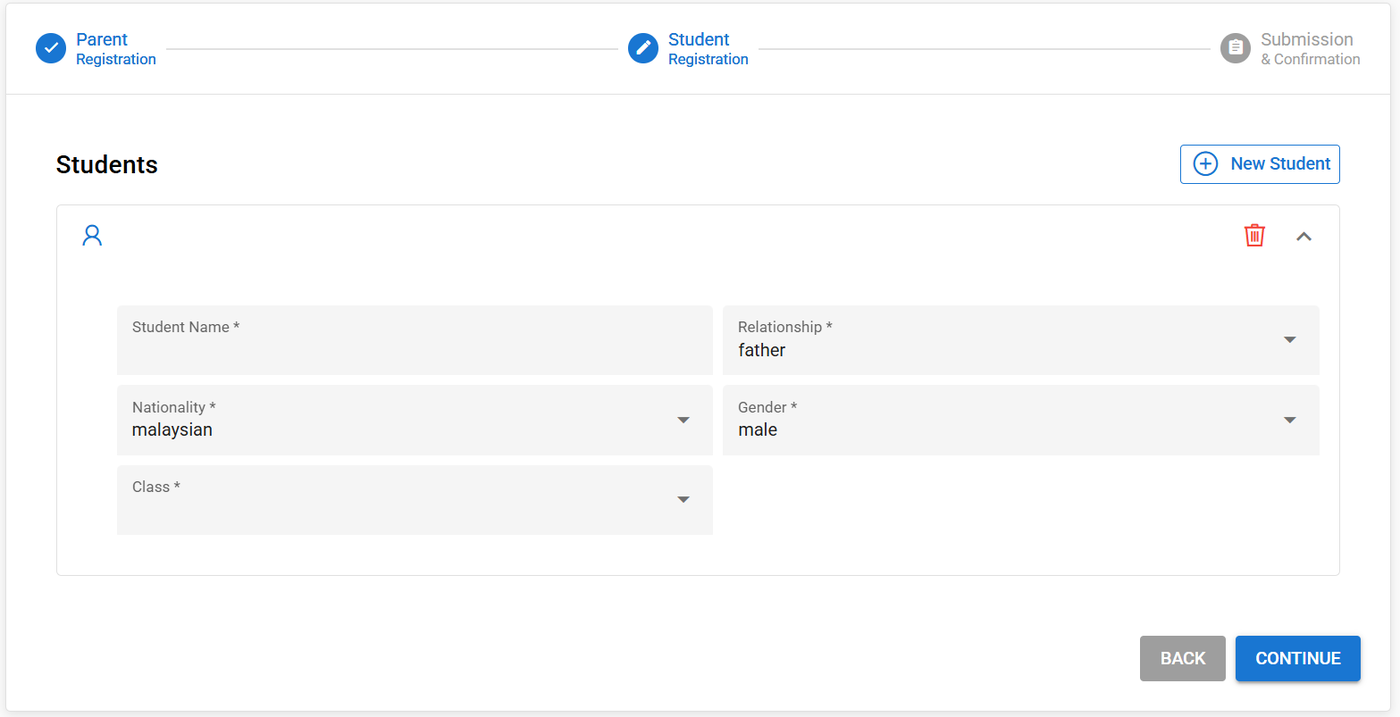 Student Registration (Simplified Form)
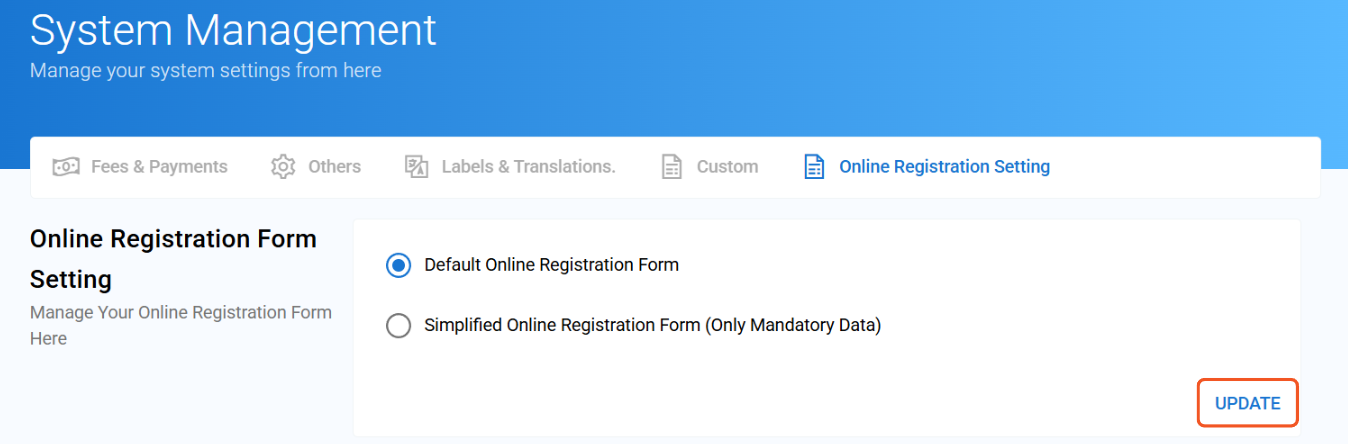
6.5.3 How to Set Online Registration to Default or Simplified
Step 1: Go to Settings -> System Management -> Online Registration Settings
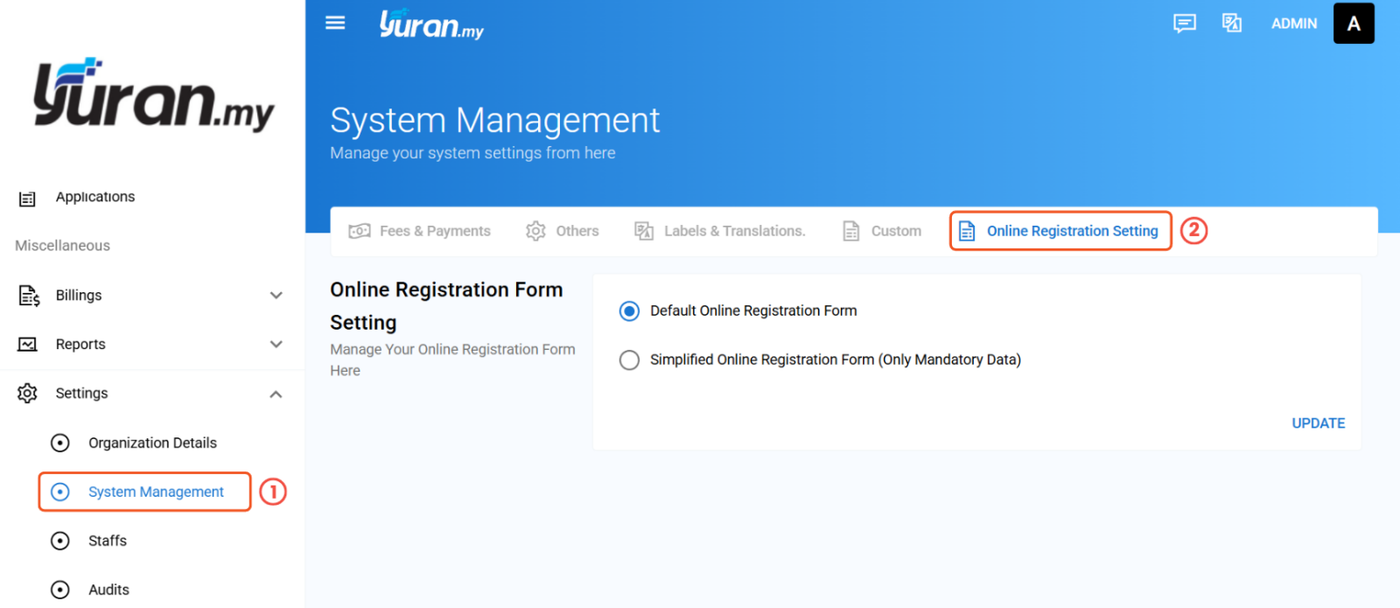
Step 2: Choose either Default Online Registration Form or Simplified Online Registration Form. Then, click "Update".
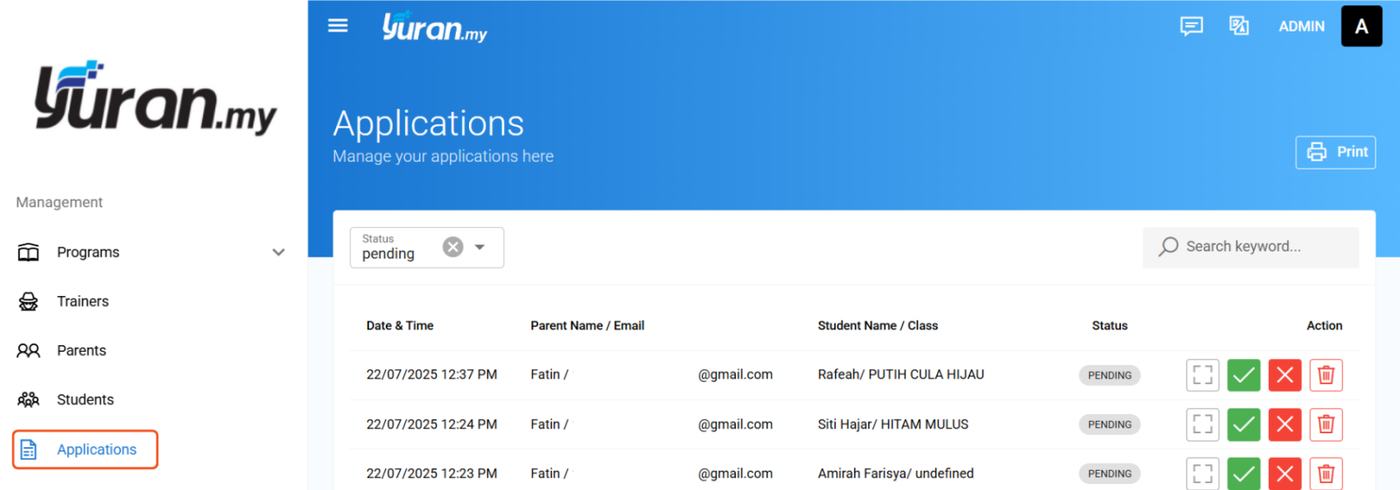
6.6 Applications
After the parent submits the registration application, the management needs to review and verify the registration. The registration can also be automatically approved if there is no need for manual review
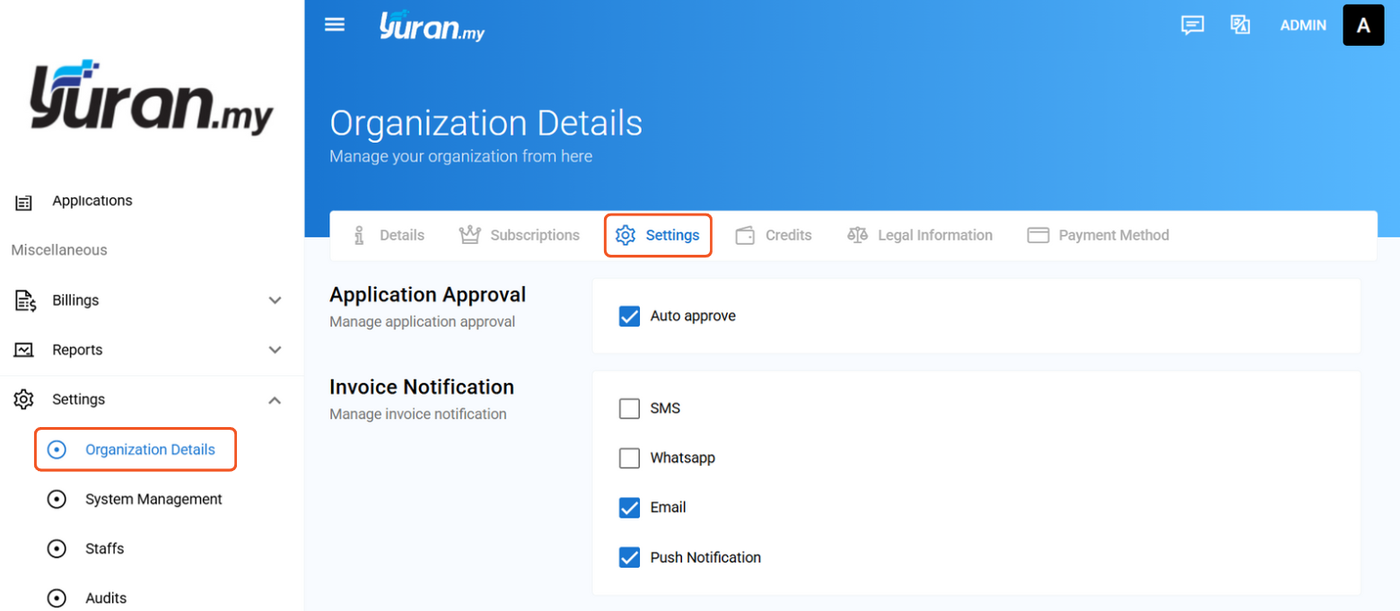
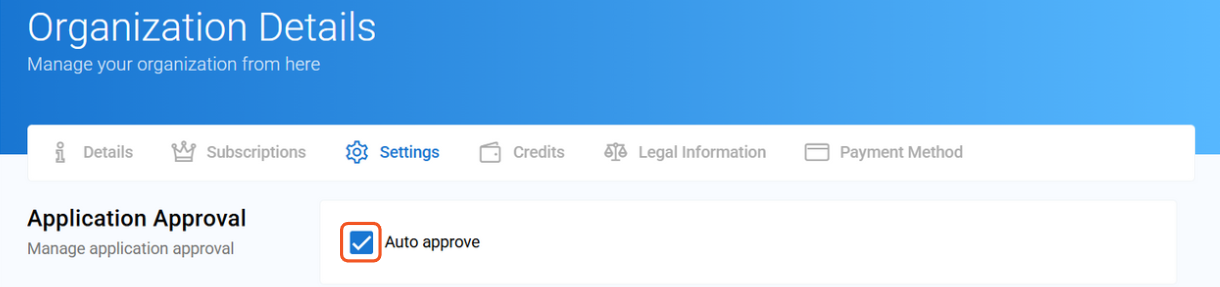
6.6.1 How to Set Registration to Automatically or Manually Approved
Step 1: Go to Settings -> Organization Details -> Settings