Step 4: Billings

4.1 Invoice
4.1.1 How to Create New Invoice?
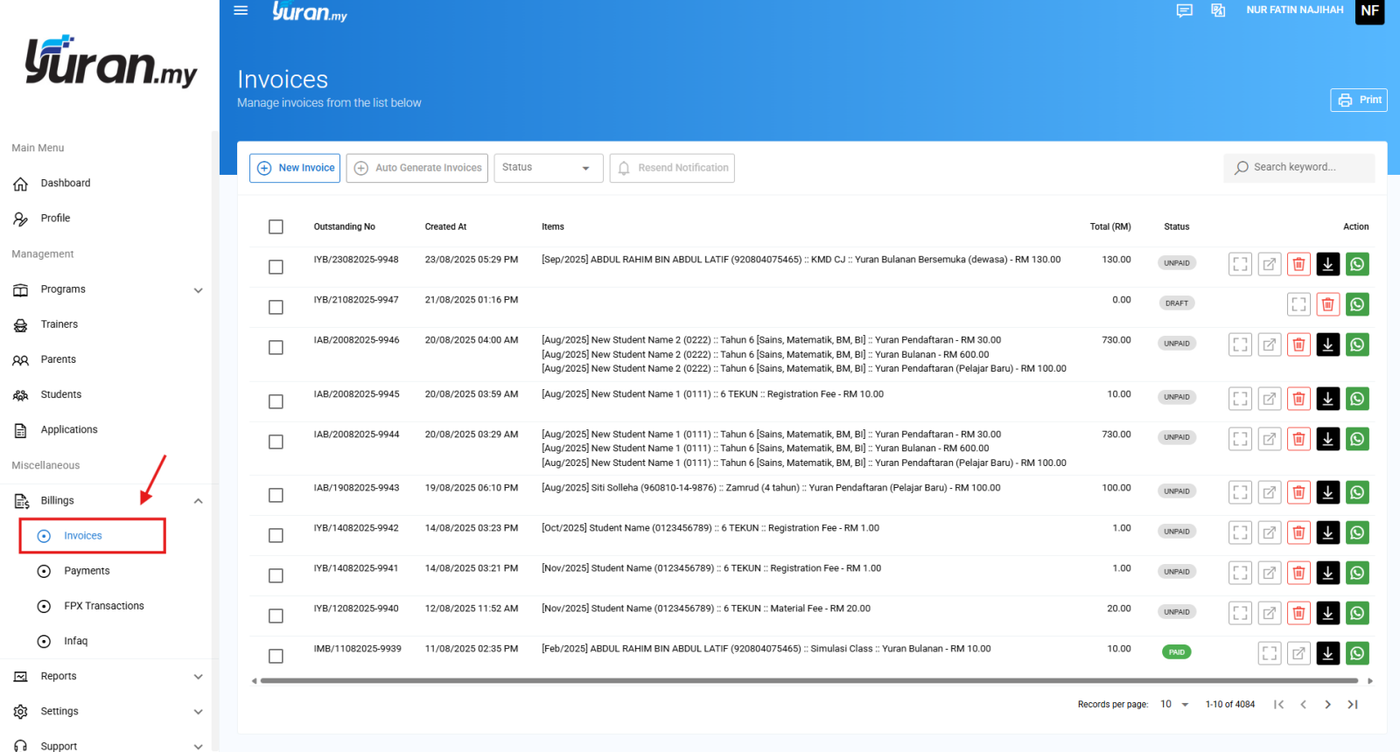
Step 1: Click Billings>Invoices at the left panel under Miscellaneous category.
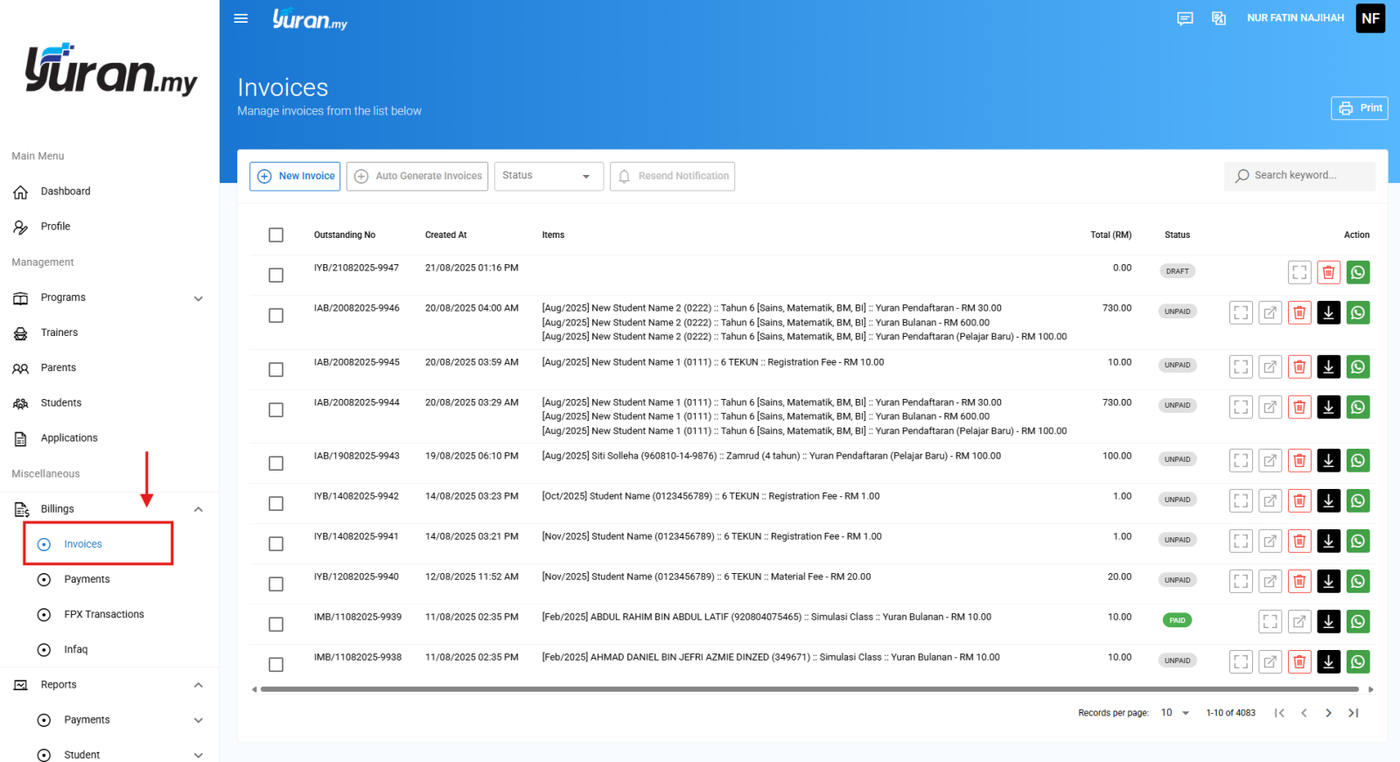
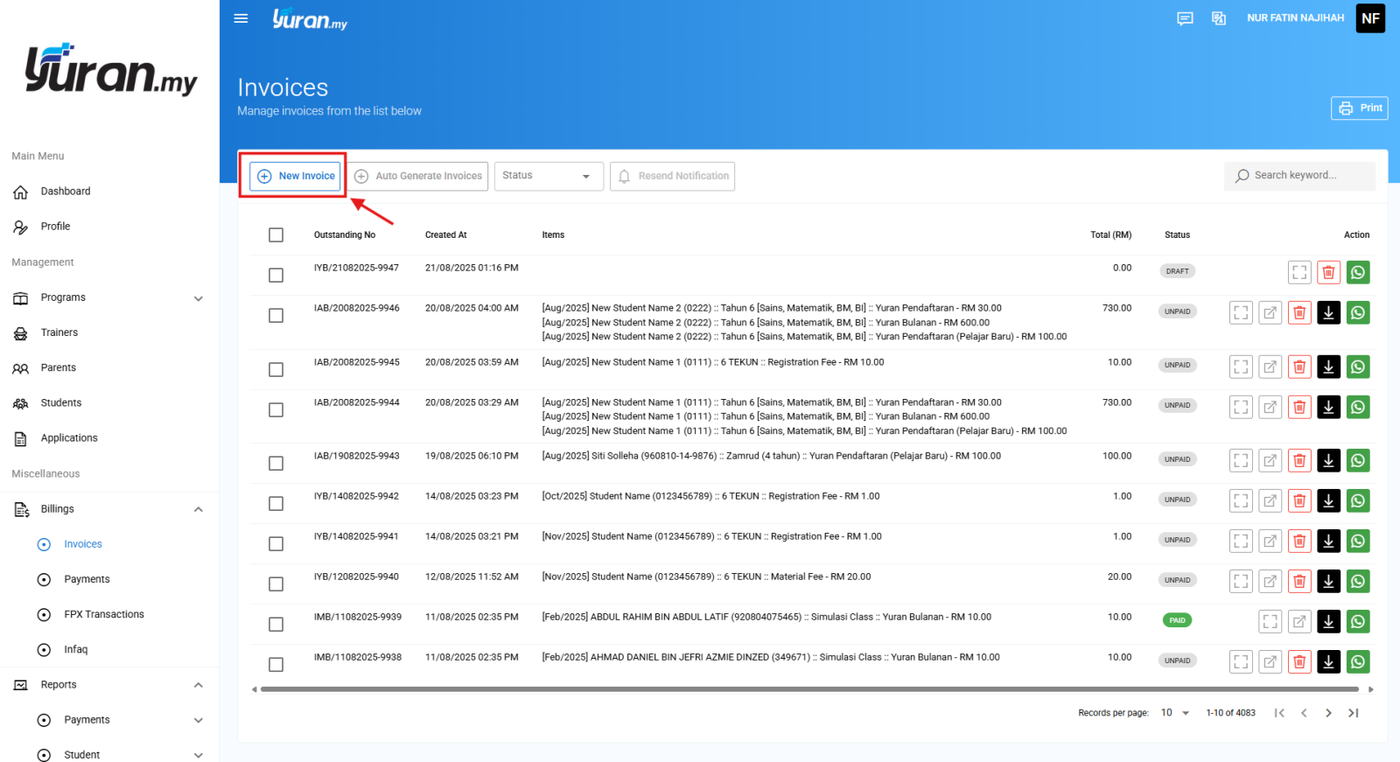
Step 2: Click New Invoice button to create a new invoice manually.
* New Invoice button

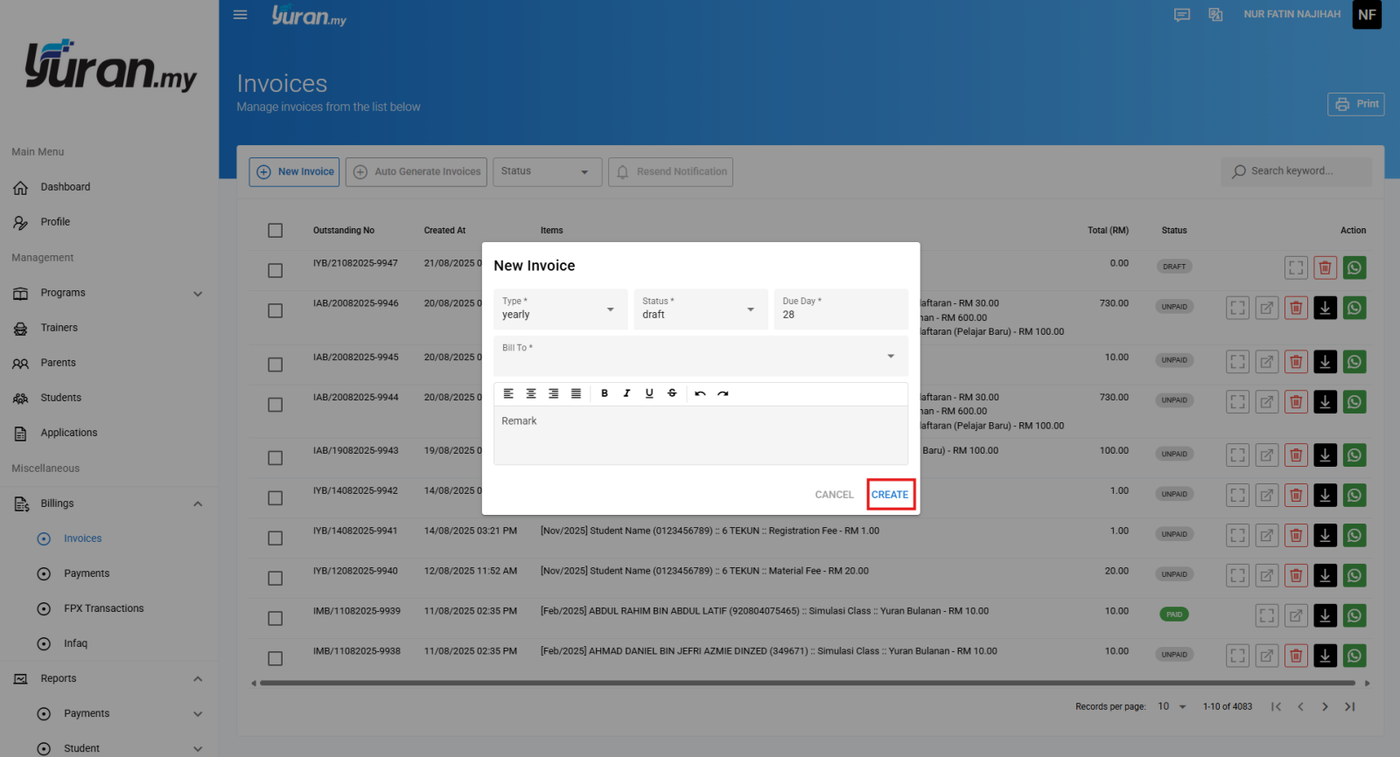
Step 3: Once user click the New Invoice button, New Invoice form will appear. Fill in the information needed and click Create button.
Step 4: Click New Invoice Item button and New Fee Item form will appear to add the invoice item.
* New Invoice Item button

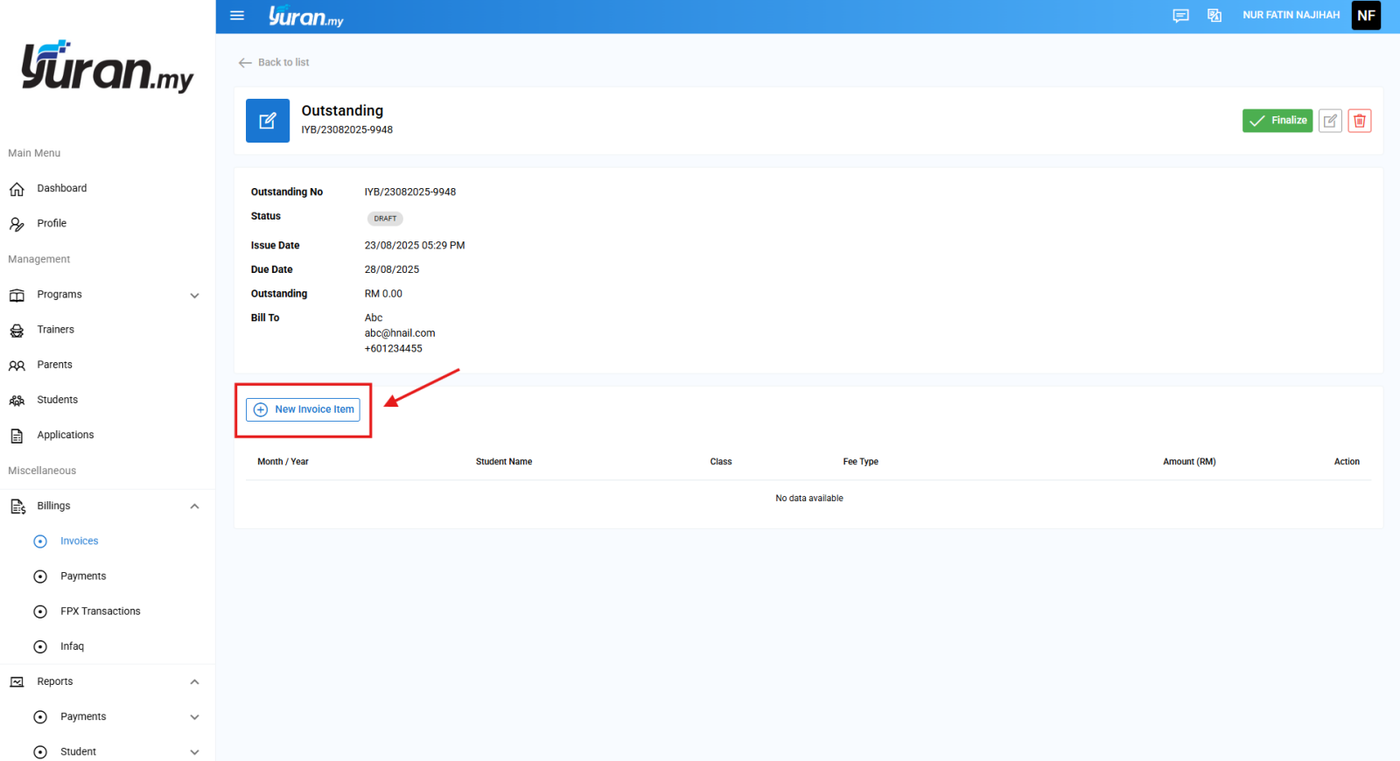

Step 5: Once user add the Fee Item, the data will be shown on the Invoice Details page.


Step 7: Click the Finalize button to update the invoice's details.
* Finalize button

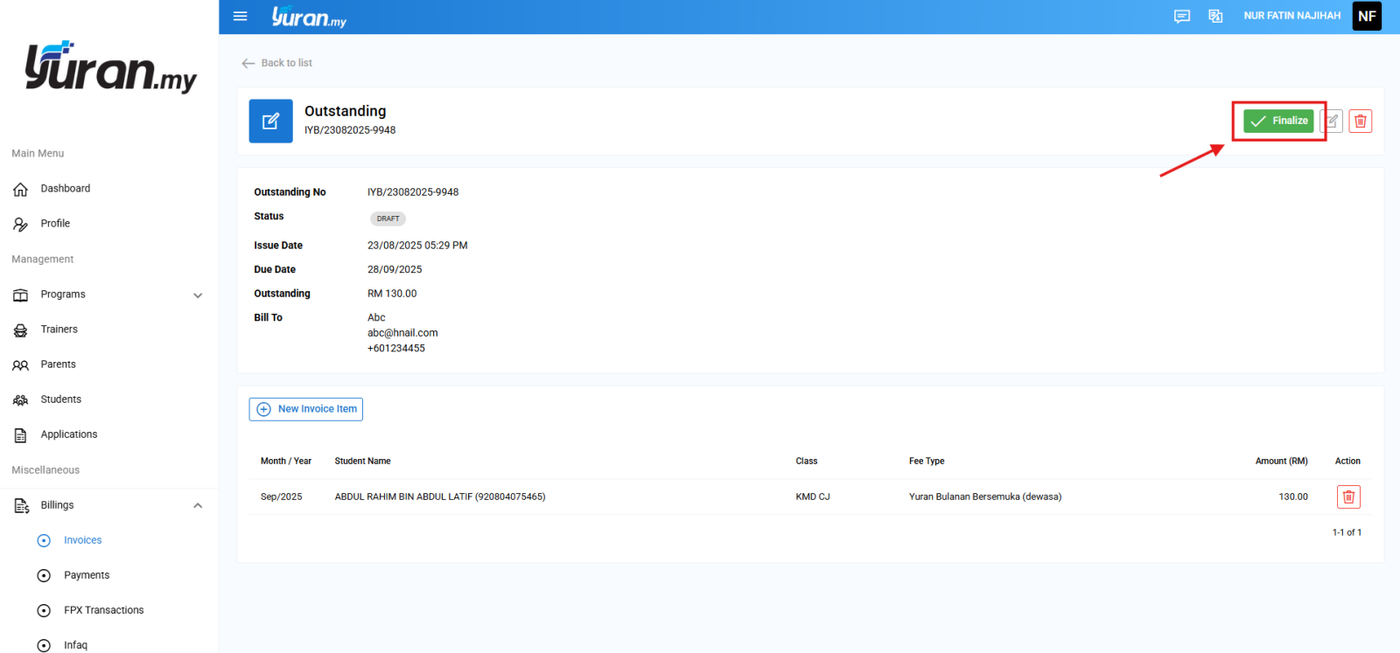
Step 8: Once user click the Finalize button, a successful message will appear.

4.1.2 How to Edit the Invoice?
Step 1: Click the Edit icon at the Invoice Details page.
* Edit icon


Step 2: Once click the Edit button, Edit Invoice form will appear. Click Update button to save the changes.

4.1.3 How to Share the Invoice?
Step 1: Click the Share icon at the Invoice Details page.
* Share icon

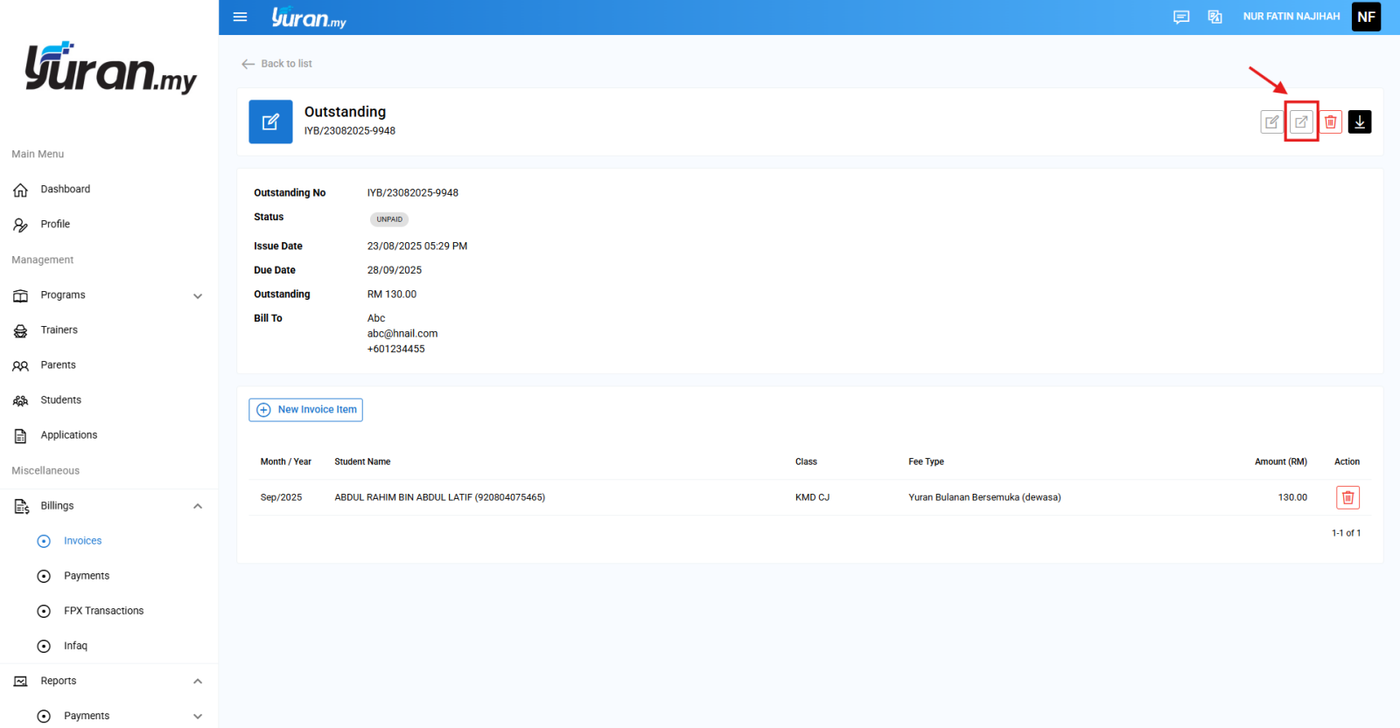
Step 2: Once user click the Share button, Invoice Details page with Pay Now button and Download button will appear.
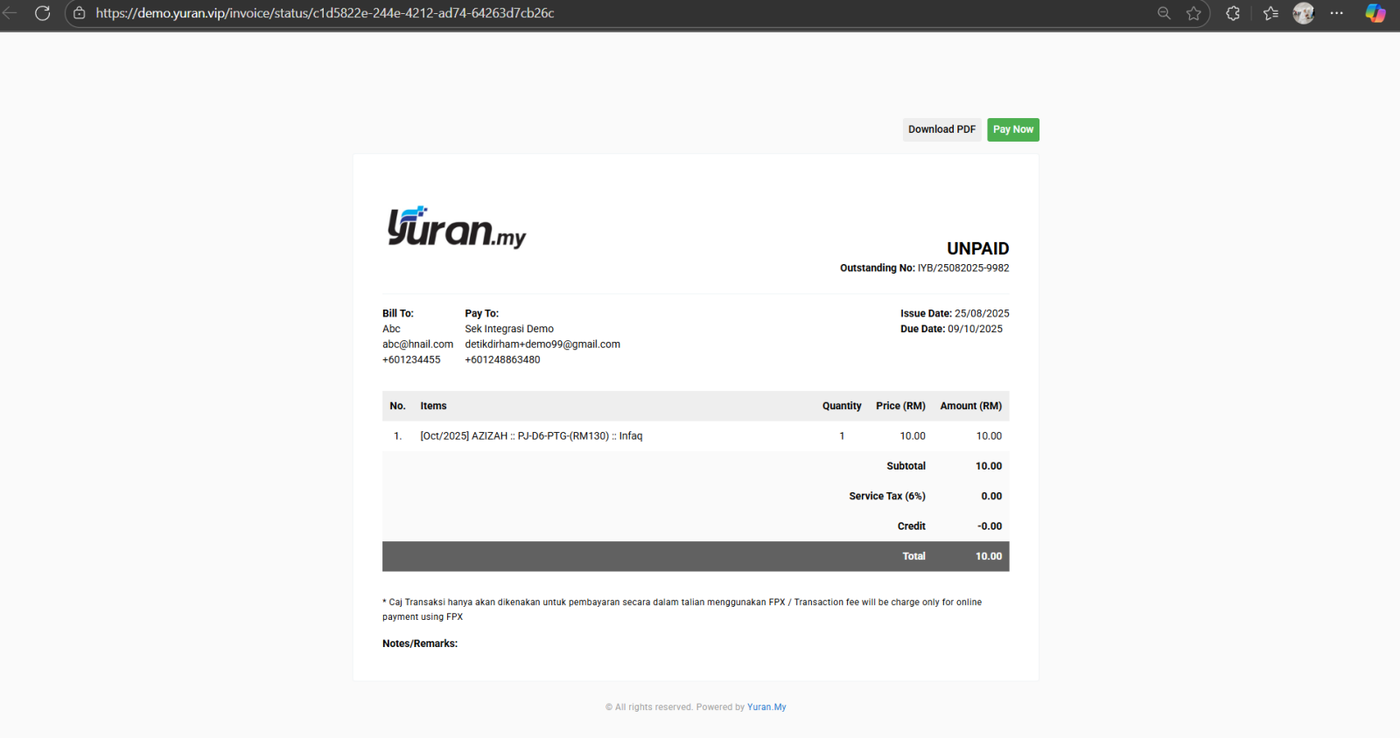
Step 3: At this page, user able to copy the link of the document, and share with parent to make a payment without accessing the Yuran.my system.
* link of document

4.1.4 How to Delete the Invoice?
Step 1: Click the Delete icon at Invoice Details page.
* Delete icon


Step 2: Once user click the Delete icon, a delete message will appear as a confirmation.

4.1.5 How to Download the Invoice?
Step 1: Click the Download icon at the Invoice page.
* Download icon

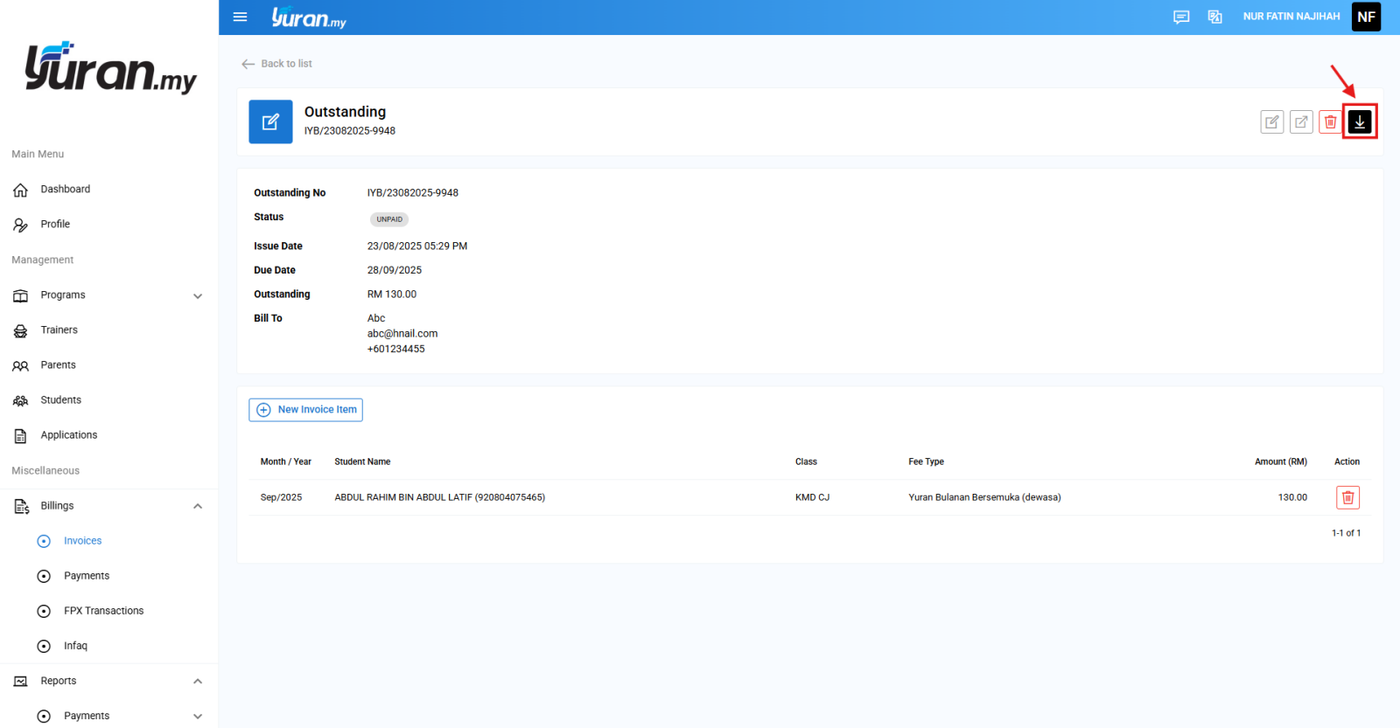
Step 2: A PDF file of the Invoice was ready to be downloaded.

4.2 Auto Generate Invoice
Auto Generating Invoice is one of the features that users able to create a bulk invoice by class or months. It able to create invoices for all of the students in the classes.
For example, once admin choose a listed class/event in the fill Class/Event on Auto Generated Invoice form, if there are 20 students/players/assets in the class/event, then it will directly be creating 20 invoices which refer to each of the students in the class.
Another example, if the admin choosing 5 months (Jan, Feb, Mac, Apr, and May) in the fill Months on Auto Generated Invoice form, so it will directly generate the invoices for the selected 5 months for each of the students in the chosen class.
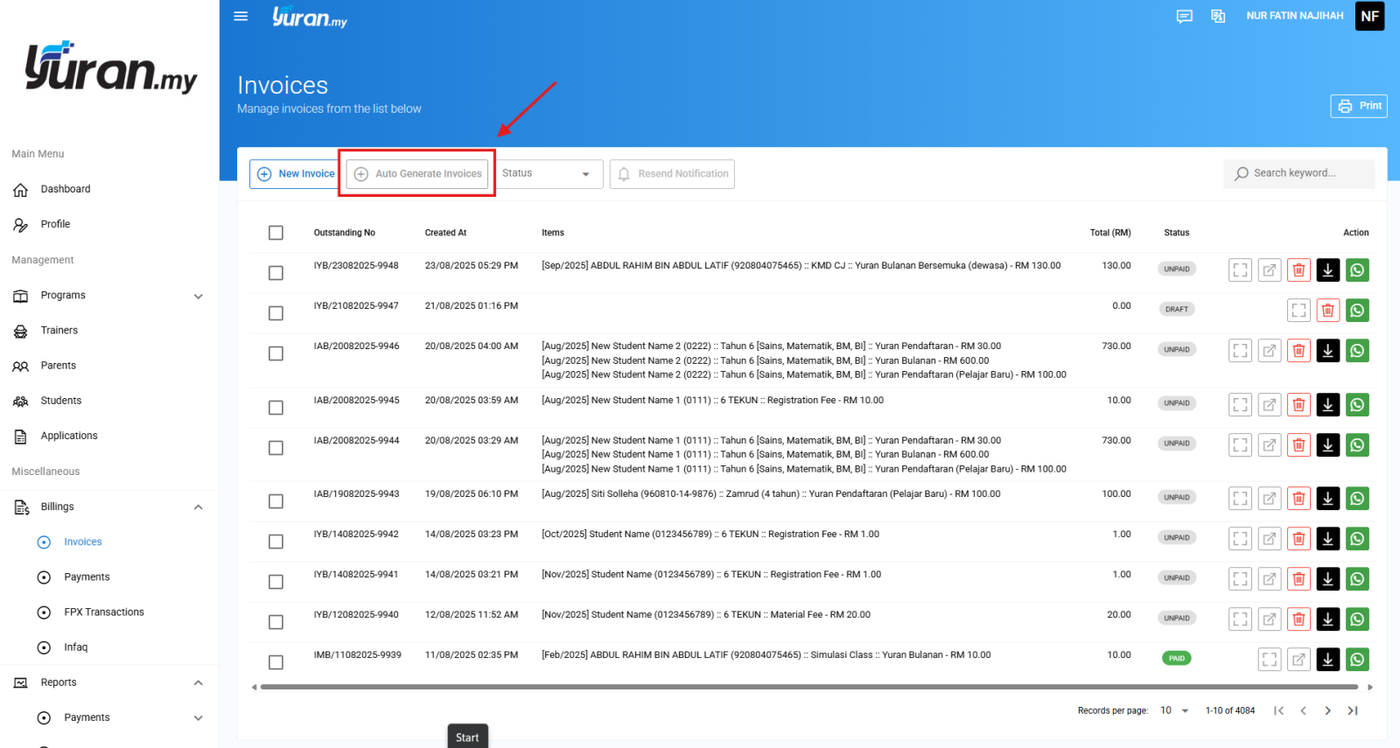
4.2.1 How to Create a New Invoice by Auto Generating?
Step 1: Click the Auto Generate Invoices button at the Invoices page.
* Auto Generate Invoices button

Step 2: Once clicking the Auto Generate Invoice button, Auto Generate Invoice form will appear.

Step 3: Fill in the information needed by choosing the listed event/class, and click Create button.

Step 4: Once clicking the Create button, the Invoice details will be shown on the generated invoices for each of the students in the class/event.

Step 5: Admin also able to fill in the information needed by choosing the months, and click Create button.

Step 6: Once clicking the Create button, the Invoice details will be shown on the generated invoices for each of the students in the class/event for the selected months.

Video Tutorial
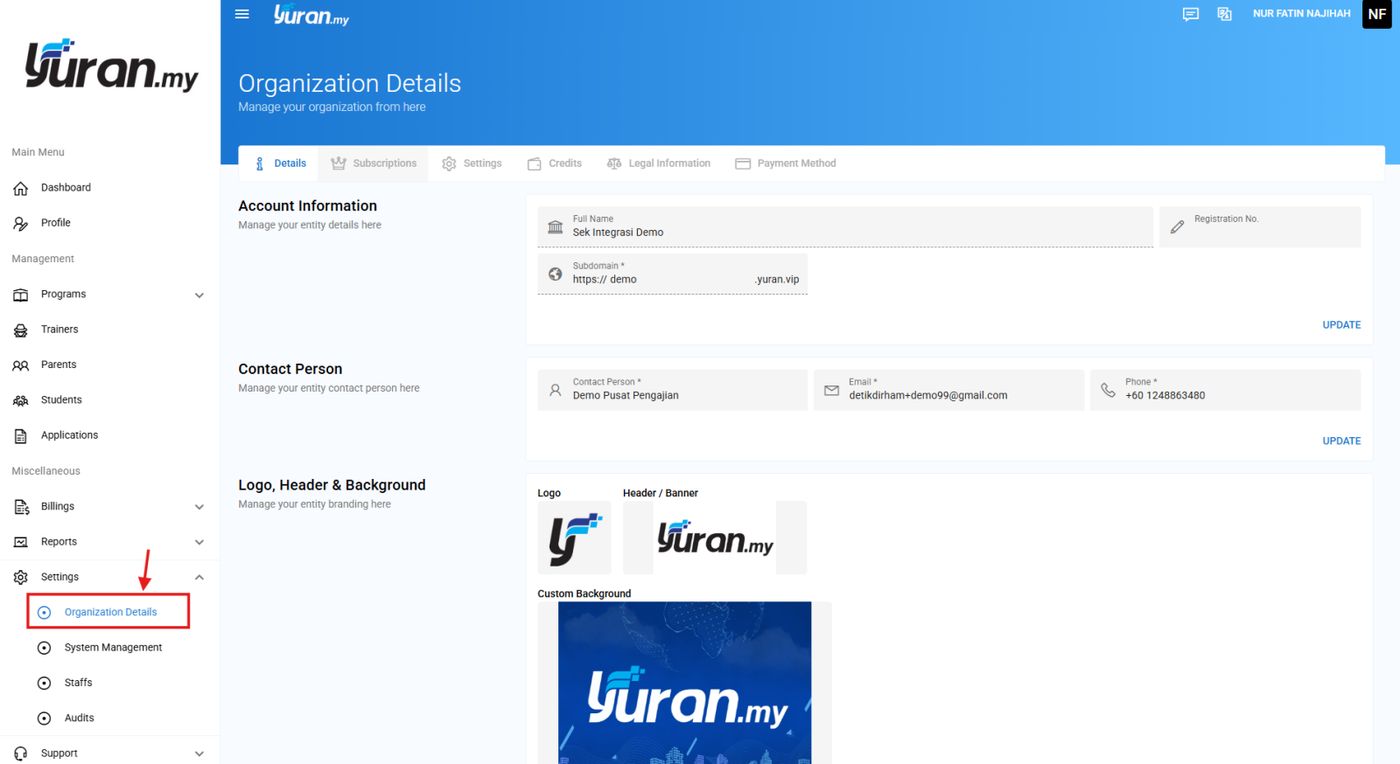
4.2.2 How to Resend Invoice Notification?
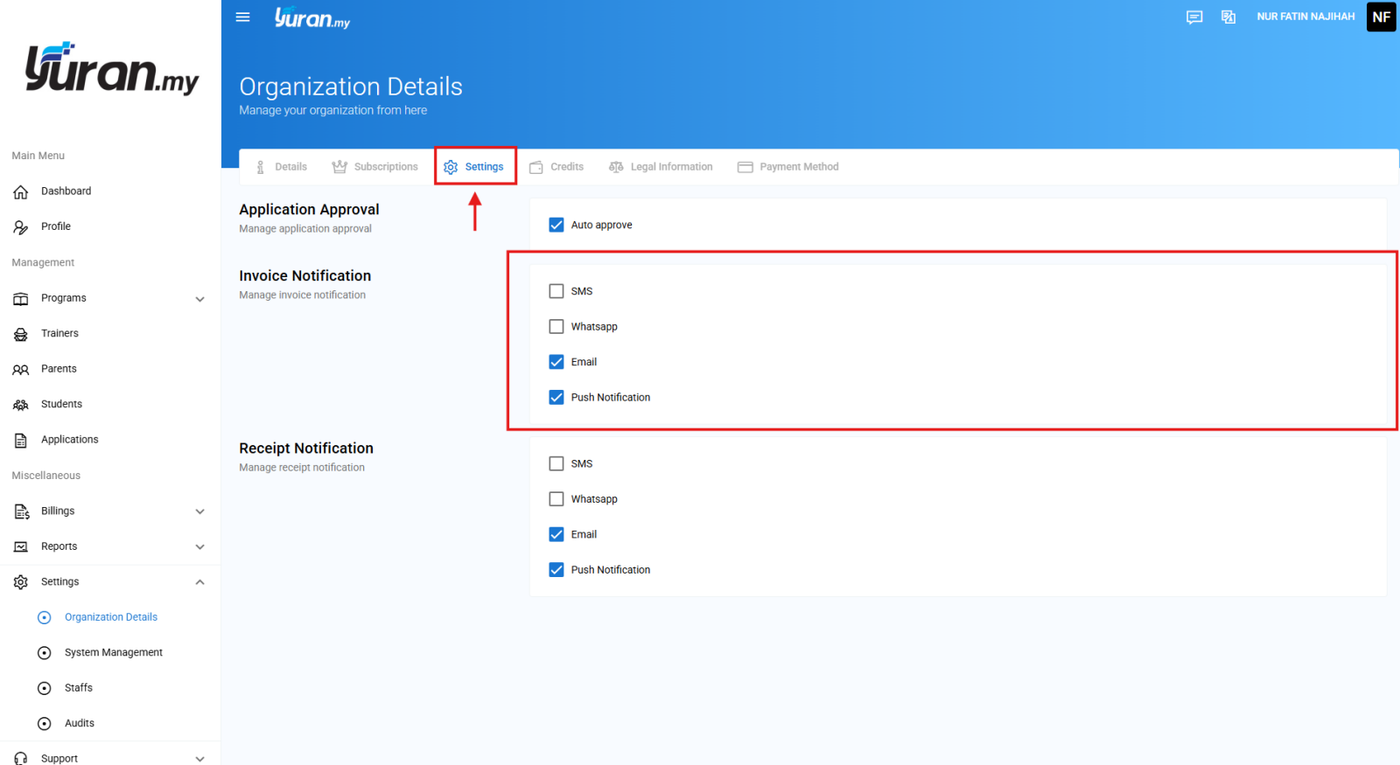
Step 1: Make sure you have managed your invoice notification to make sure either the invoice will be sent to the users on SMS, Whatsapp, Email or Push Notification.
- Click Settings > Organization Details > Settings,
Step 2: Click menu Billings > Invoices
Step 3: You may choose the options below to resend the invoice notification.
There are a few options to resend the invoice notification.
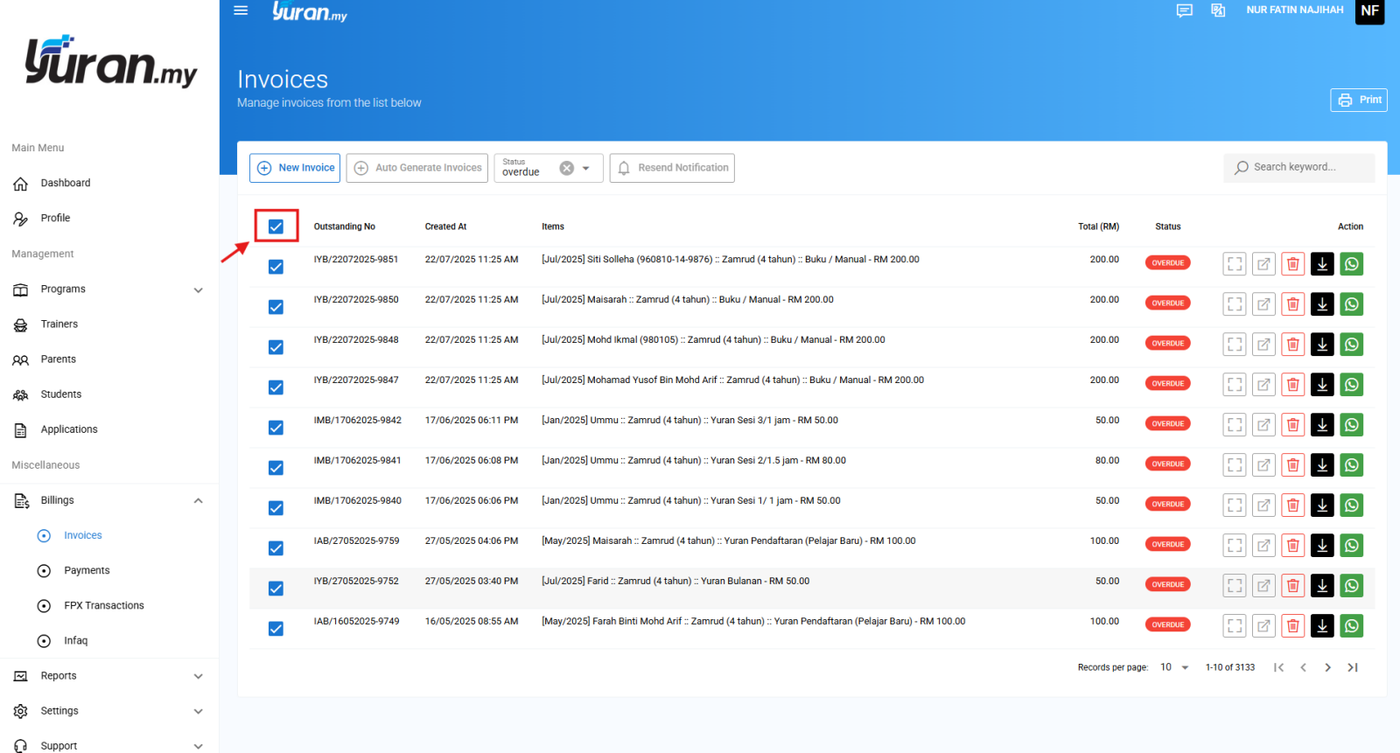
1. Clicking the checkbox on the left on the Invoice No
- will resend the invoice notification to all the invoices that have been created as shown below
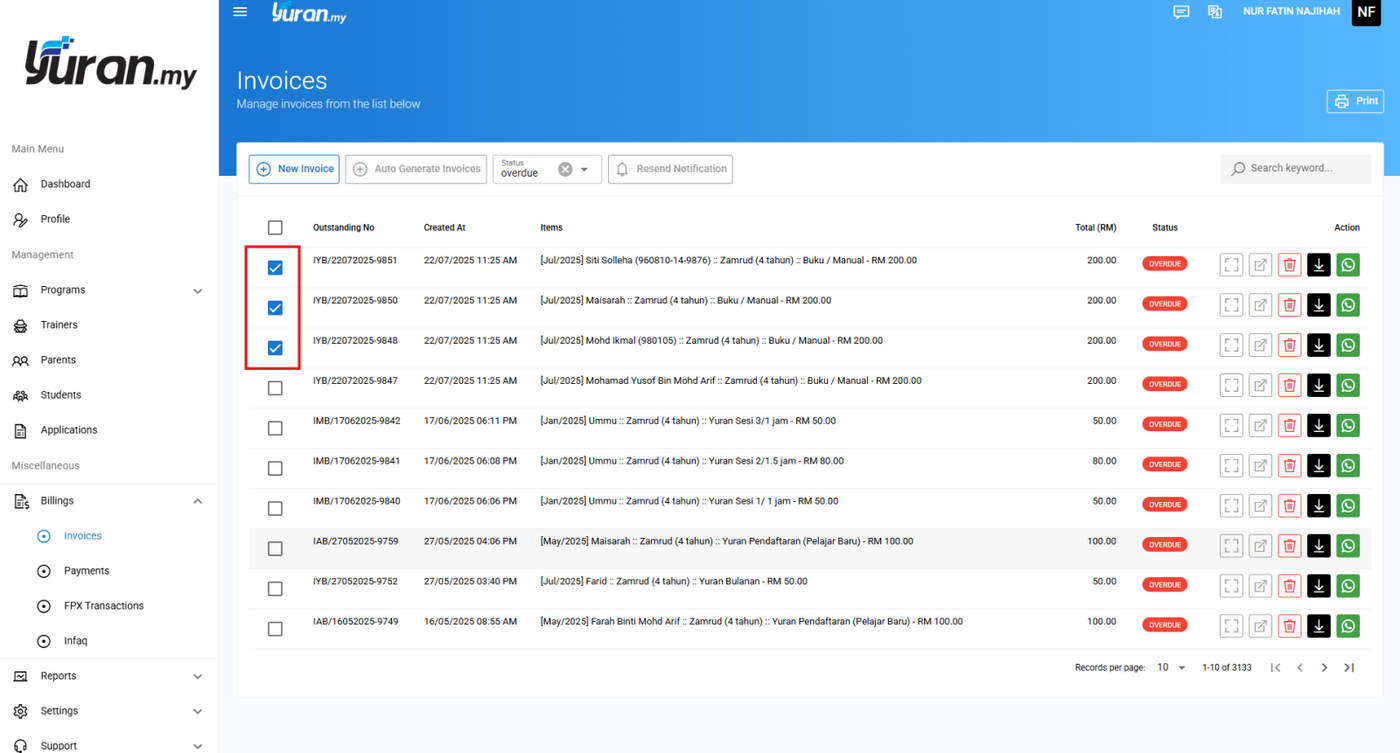
2. Click the checkbox on selected invoice
- will resend the invoice notification to the selected invoice only
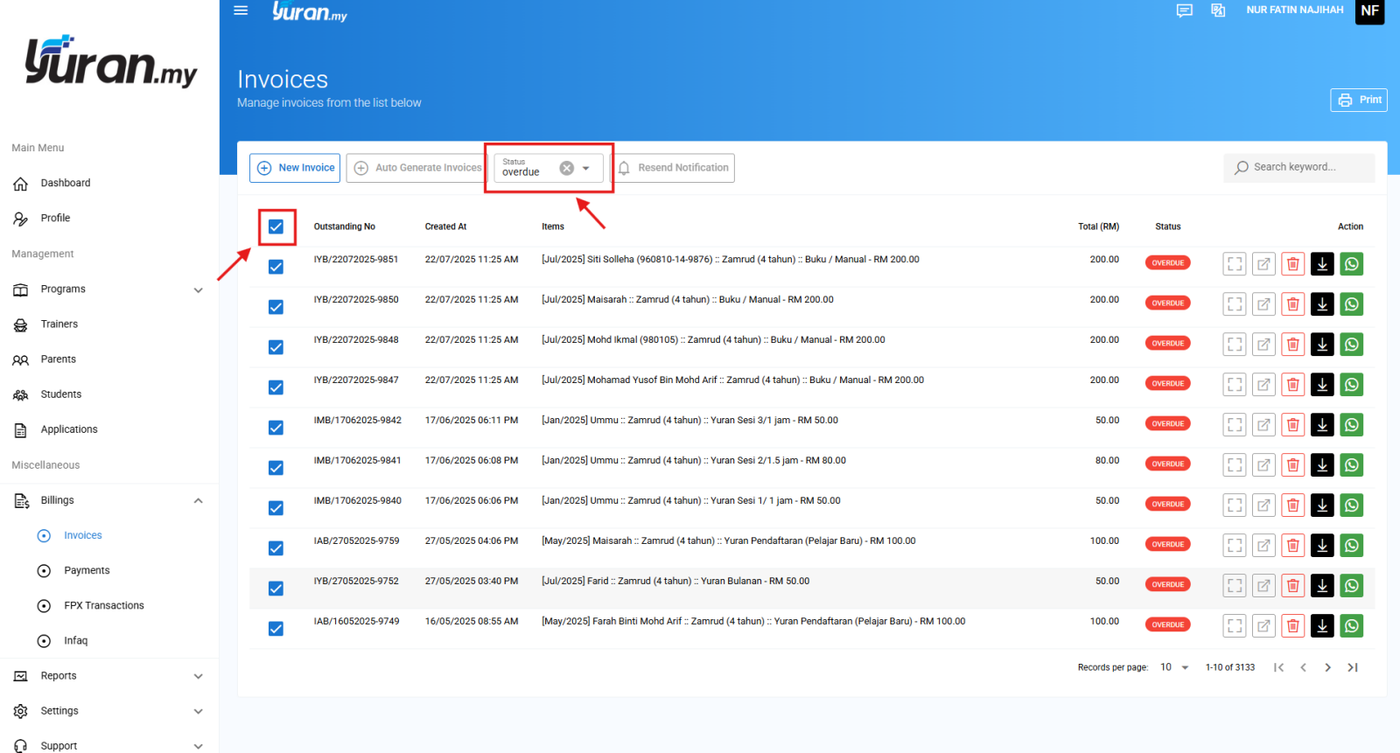
3. Filter by the invoice status. Also able to select all invoices or only selected invoice
- if click the checkbox on the left of the Invoice No, it will select all invoices as shown below
- choose only the selected invoice as shown

Step 4: After choose the invoices that you want to notify users, click the button Resend Notification.

Step 5: Once you click the button Resend Notification, this message will appear as confirmation. Click Resend to send the notification.

Video Tutorial
4.3 Payment
4.3.1 How to Create a New Payment?
Step 1: Click Billings > Payments at the left panel under Miscellaneous category.
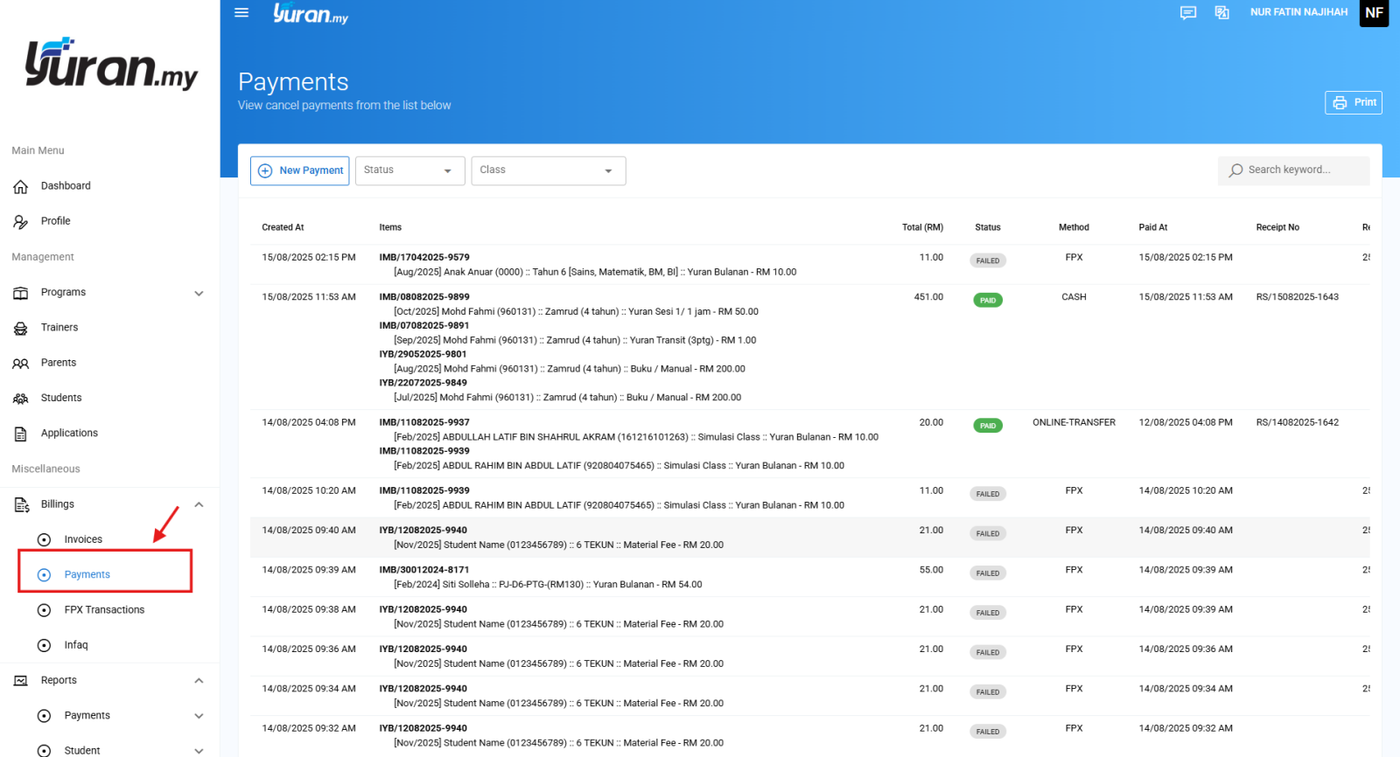
Step 2: Click the New Payment button at the Payments page.
* New Payment button

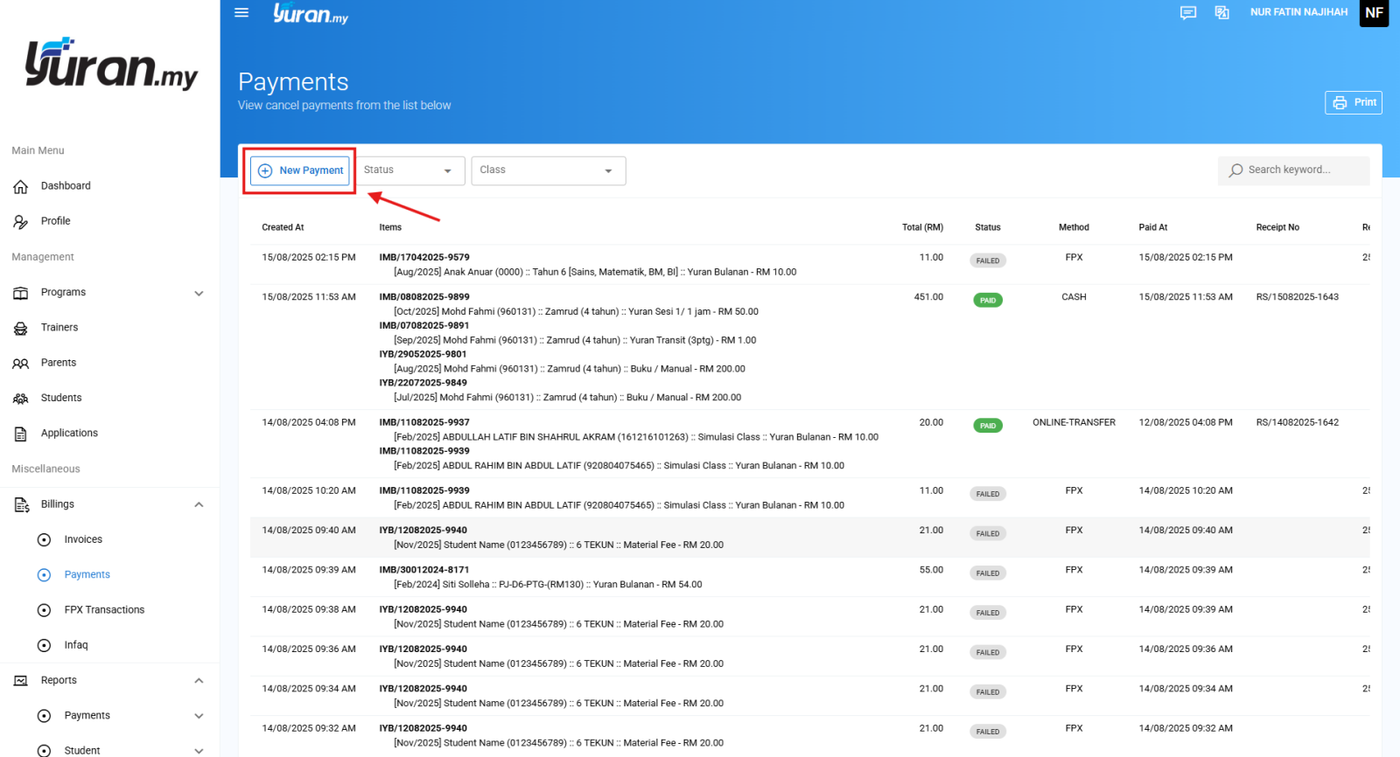
Step 3: Once clicking the New Payment button, a New Invoice Payment form will appear.

Step 4: Fill in all the information needed and click Create button once done.


Step 5: Once clicking the Create button, the payment details will be shown on the Payments page.

Step 6: At this page, user able to download the receipt by clicking the Download icon at the Action section on Payments page.
* Download icon


Video Tutorial
4.4 FPX Collection
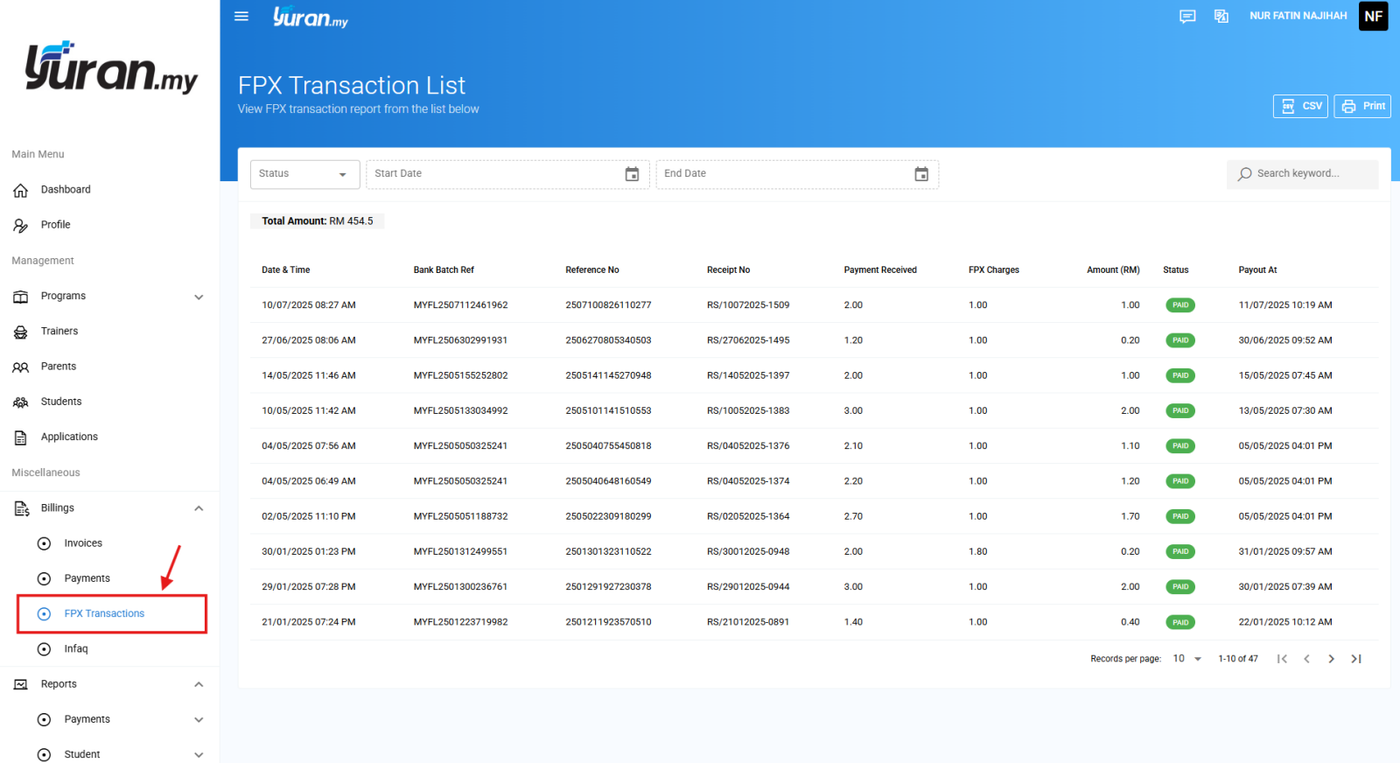
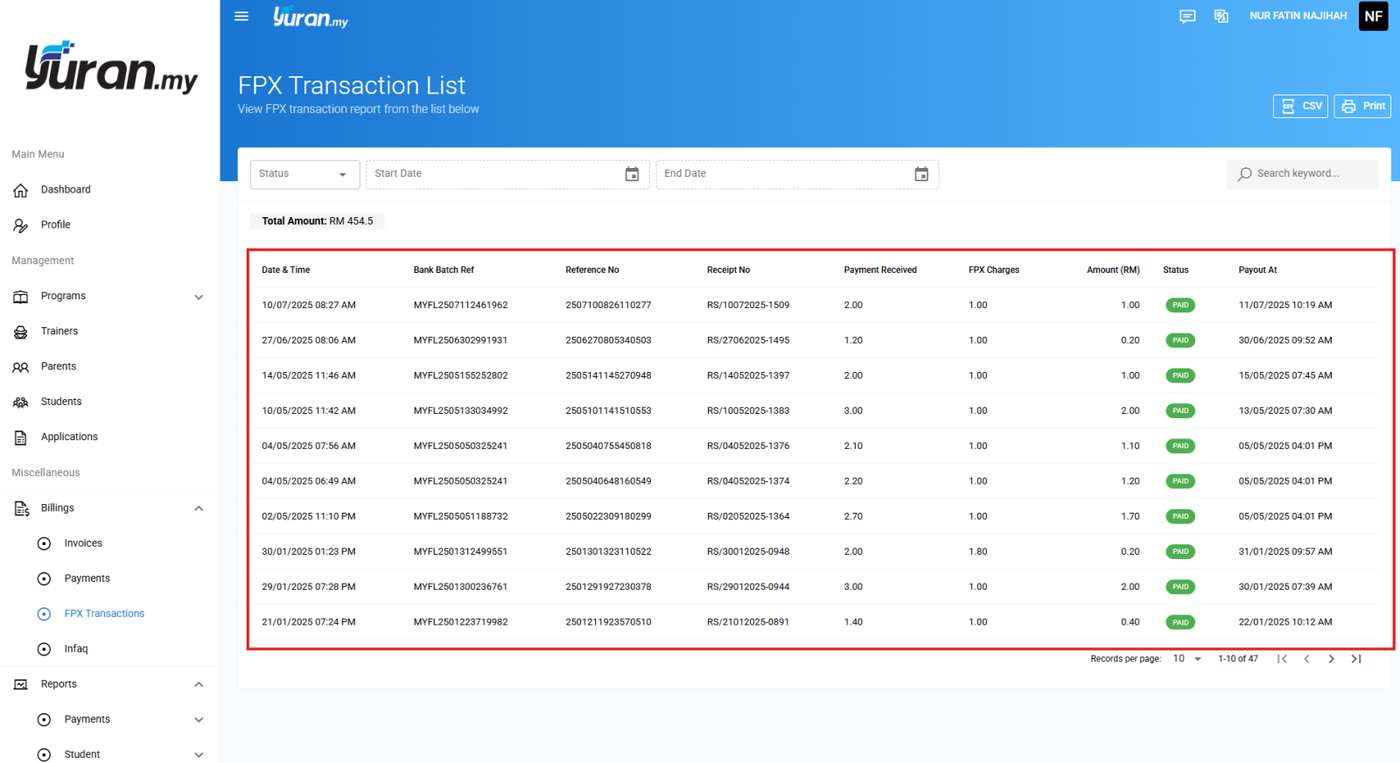
4.4.1 How to Manage FPX Collection?
Step 1: Click Billings > FPX Transaction at the left panel under Miscellaneous category.
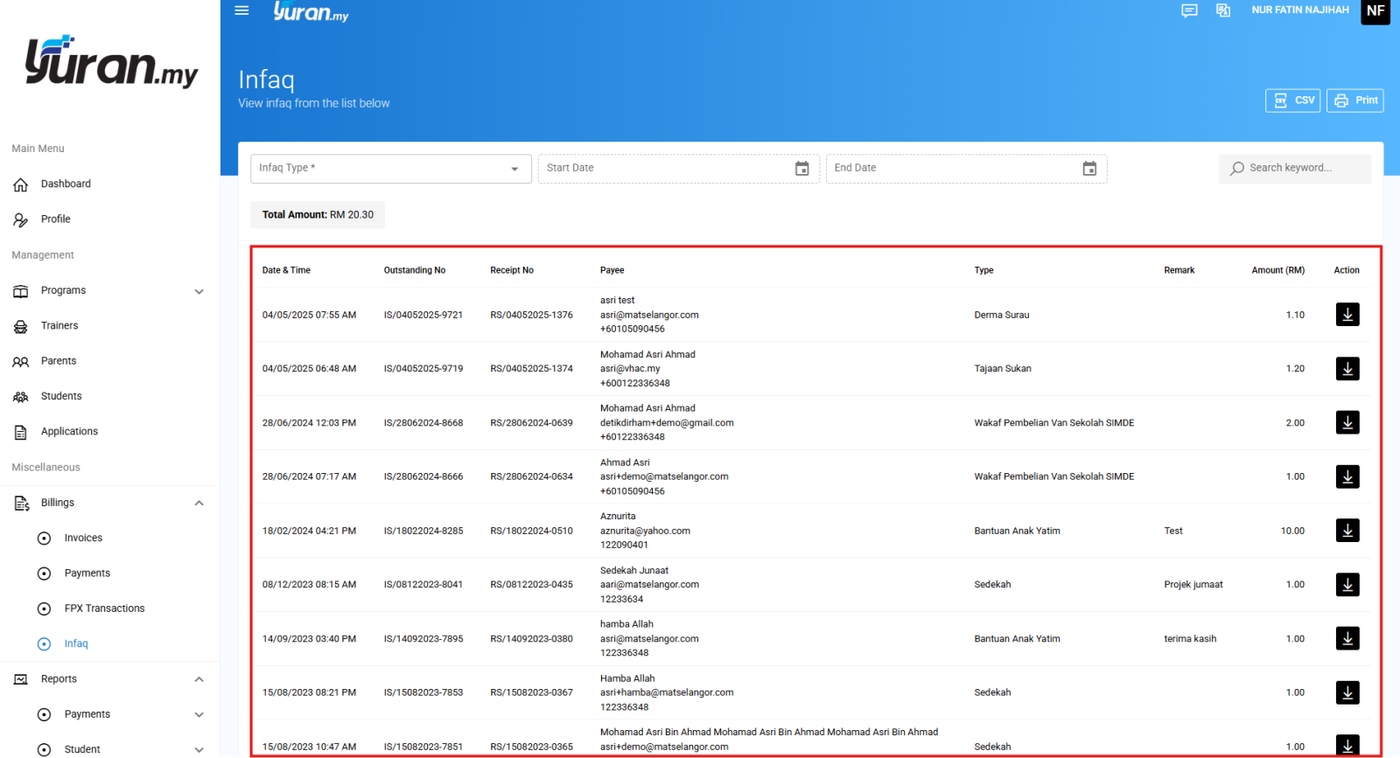
4.5 Infaq
4.5.1 How to Manage Infaq?
Step 1: Click Billings > Infaq at the left panel under Miscellaneous category.
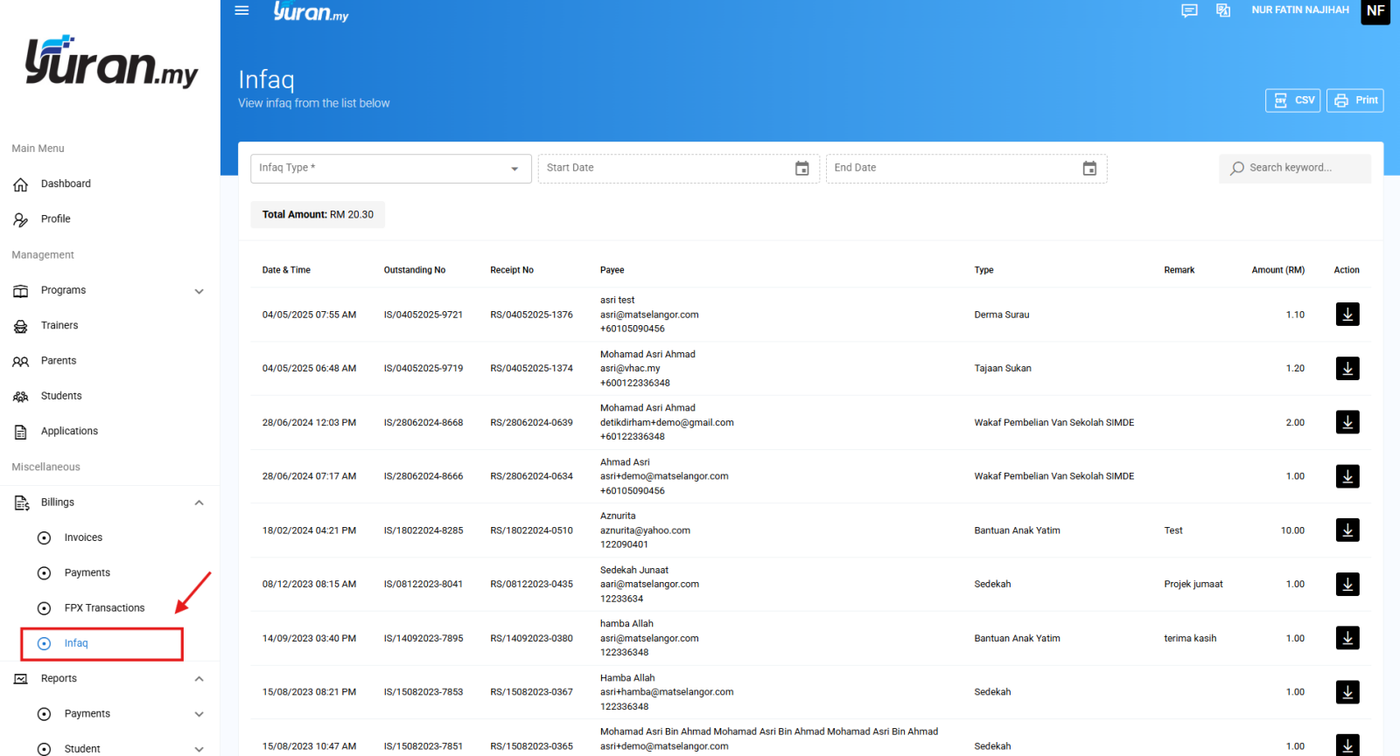
Step 2: Once clicking the Infaq, user able to view the Infaq details from the Infaq page.