Step 5: Others

5.1 Reports
The following are the listing reports that available on the system.
| Module | Report | Description |
| Payments | Payment Listing | List the payment information |
| Payment Monthly | List the monthly payment summary | |
| Payment Yearly | List the yearly payment summary | |
| Invoice Listing | List the invoice information | |
| Yearly Statement | List of the collection yearly | |
| Billings Summary | Details of billing yearly summary | |
| Cancel Payment Listing | Details of cancel payment listing | |
| Player/Student/Asset | Player/Student/Asset List | List the player/student/asset information |
| Yearly Statement | List of the yearly payment summary based on player/student/asset name | |
| Program Summary | List of programs summary | |
| Yearly Student Attendance | Record of the attendance yearly report by student | |
| Student Attendance Details | Details record of the student's attendance based on class, session and total attend | |
| Trainer | Attendance | Attendance report |
5.1.1 How to Generate the Payment Listing Report?
Step 1: Click Payments > Payment Listing under the Reports category.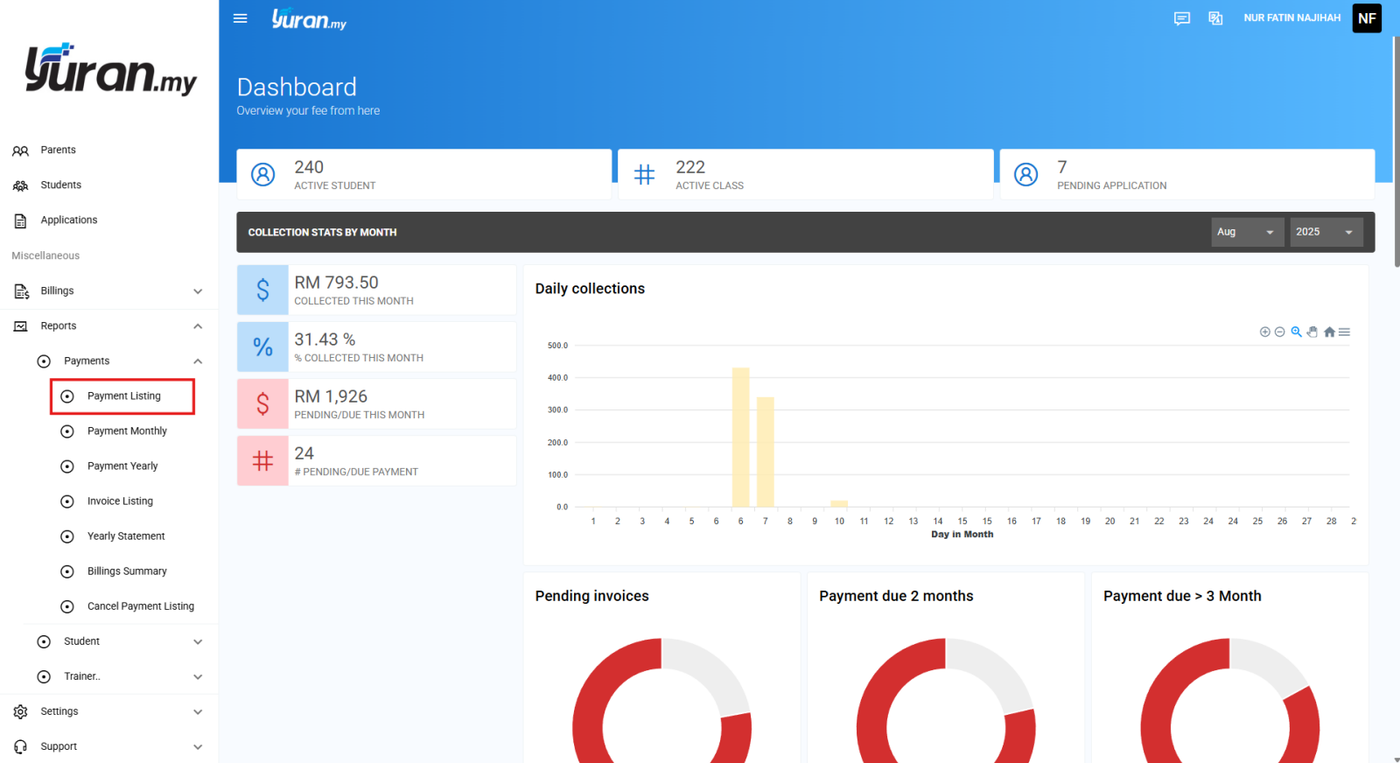
Step 2: Once clicking the Payment Listing, Payment List Report page will appear.

Step 3: At this page, user able to generate Payment Listing report by inserting the data such as Method, Date Type, Start Date, End Date, Fee Type, Event, Trainer, Player. Then, click Generate Report button.
* Generate Report button

Step 4: Click the Export CSV button to export the report into the Excel file.
* Export CSV button

Step 5: Click the Print button to print the Payment Listing report.
* Print button

5.1.2 How to Generate the Payment Monthly Report?
Step 1: Click Payments > Payment Monthly at the left panel under Reports category.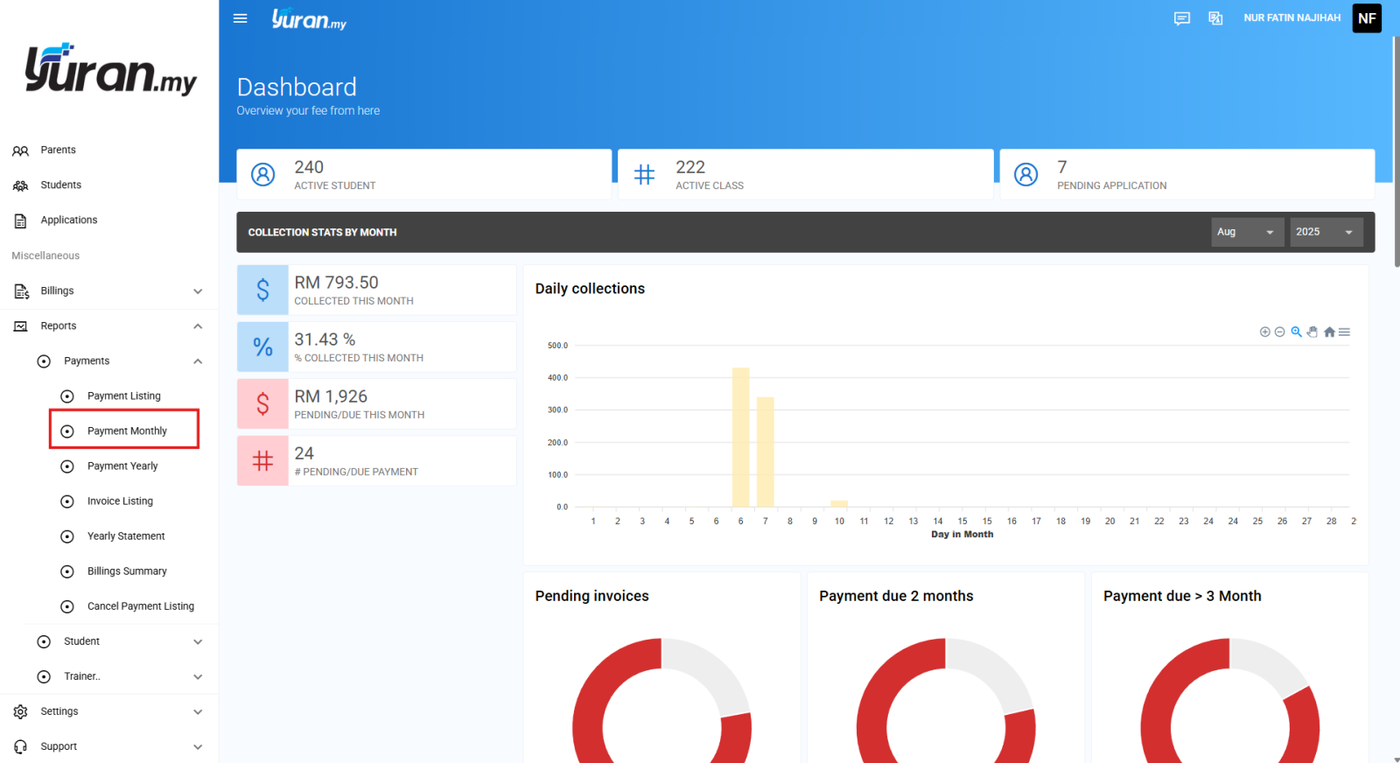
Step 2: Once clicking the Payment Monthly menu, Payment Report by Month page will appear.
Step 3: At this page, user able to insert the data such as Year, Month, Date Type and Event/Class to generate Payment Yearly report. Then, click the Generate Report button.
* Generate Report button

Step 4: Click the Export CSV button to export the report into the Excel file.
* Export CSV button
Step 5: Click the Print button to print the Payment Listing report.
* Print button
5.1.3 How to Generate the Payment Yearly Report?
Step 1: Click Payments > Payment Yearly at the left panel under Reports category.
Step 2: Once clicking the Payment Yearly, Payment Yearly Report page will appear.
Step 3: At this page, user able to insert the data such as Year and Event/Class to generate Payment Yearly report. Then, click the Generate Report button.
* Generate Report button

Step 4: Click the Export CSV button to export the report into the Excel file.
* Export CSV button
Step 5: Click the Print button to print the Payment Listing report.
* Print button
5.1.4 How to Generate the Invoice Listing Report?
Step 1: Click the Payments > Invoice Listing at the left panel under Reports category.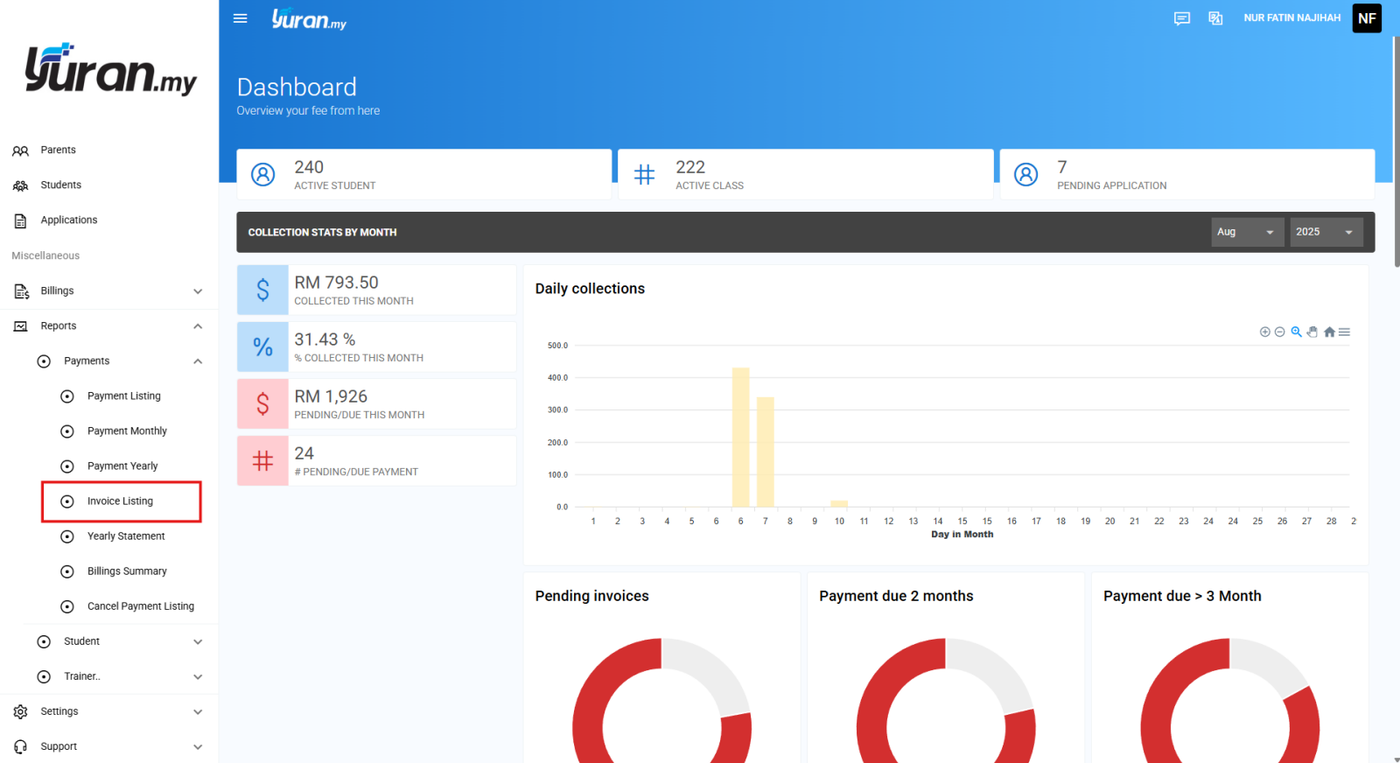
Step 2: Once clicking the Invoice Listing, Invoice List Report page will appear.
Step 3: At this page, user able to generate Invoice List Report by inserting the Year, Month, Start Date, End Date, Fee Type, Status, Event, Trainer, Player. Then, click the Generate Report button.
* Generate Report button

Step 4: Click the Export CSV button to export the report into the Excel file.
* Export CSV button
Step 5: Click the Print button to print the Payment Listing report.
* Print button
5.1.5 How to Generate the Yearly Statement Report?
Step 1: Click the Payments > Yearly Statement at the left panel under Reports category.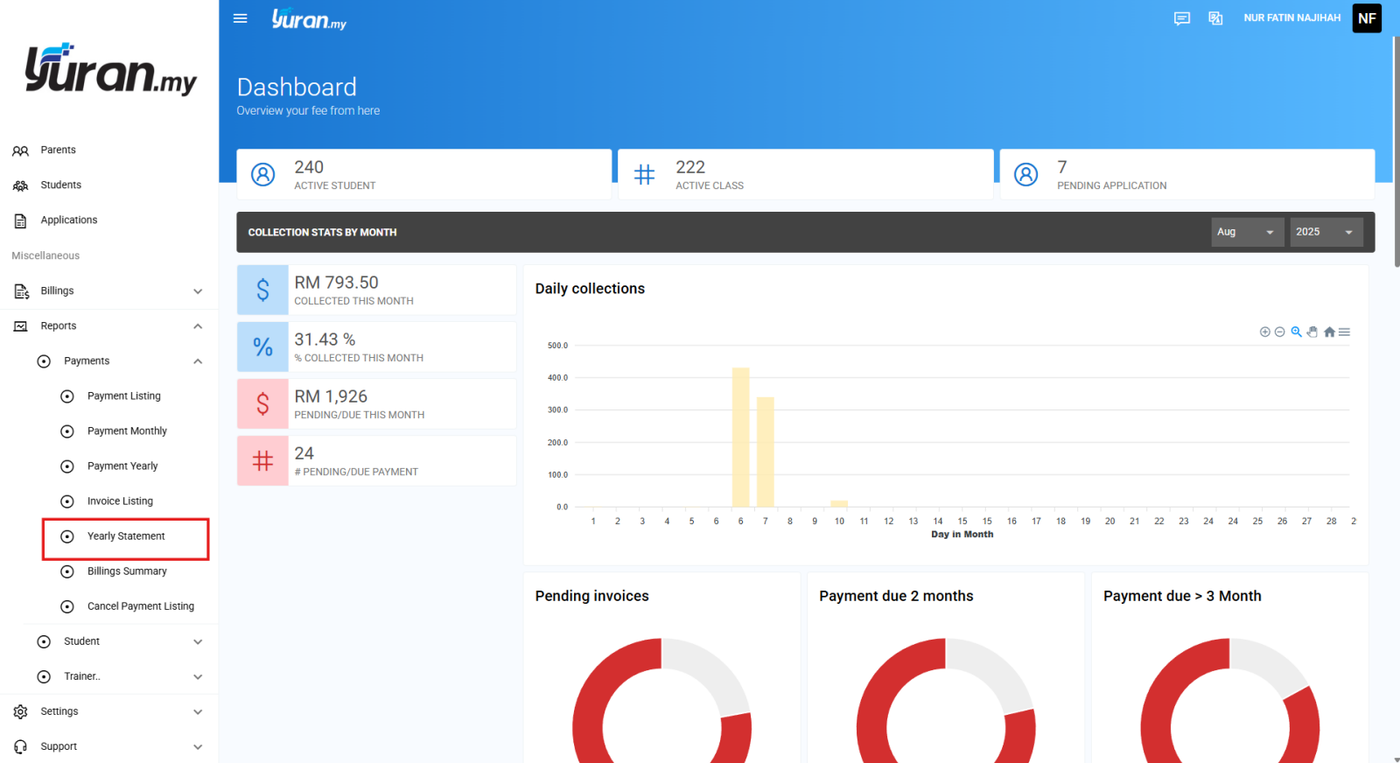
Step 2: Once clicking the Yearly Statement, the Collection Yearly Statement page will appear.

Step 3: Click the Export CSV button to export the report into the Excel file.
* Export CSV button
Step 4: Click the Print button to print the Payment Listing report.
* Print button
5.1.6 How to Generate Billings Summary Report?
Step 1: Click menu Payments>Billing Summary at the left panel under Reports category.
Step 2: Click Generate Report button to view the report.
Step 3: Click the Export CSV button to export the report into the Excel file.
* Export CSV button
Step 4: Click the Print button to print the Payment Listing report.
* Print button
5.1.7 How to Generate Cancel Payment Listing Report?
Step 1: Click menu Payments>Cancel Payment Listing at the left panel under Reports Category.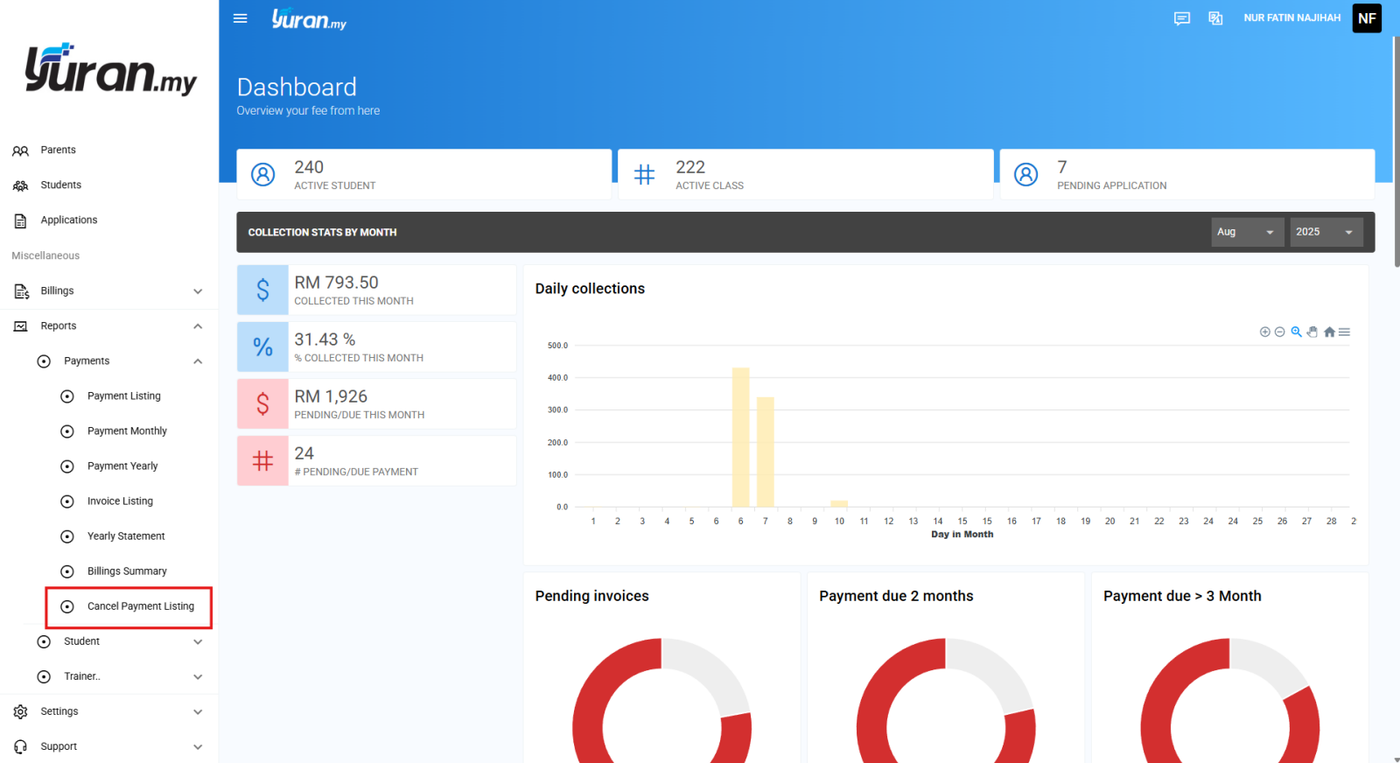
Step 2: Click Generate Report button to view the Cancel Payment Listing details report. You are also able to filter the report by Method, State Date, and End Date.
Step 3: Click the Export CSV button to export the report into the Excel file.
* Export CSV button
Step 4: Click the Print button to print the Payment Listing report.
* Print button
5.1.8 How to Generate the Player/Student/Asset List Report?
Step 1: Click the Player/Student/Asset > Player/Student/Asset List at the left panel under Reports category.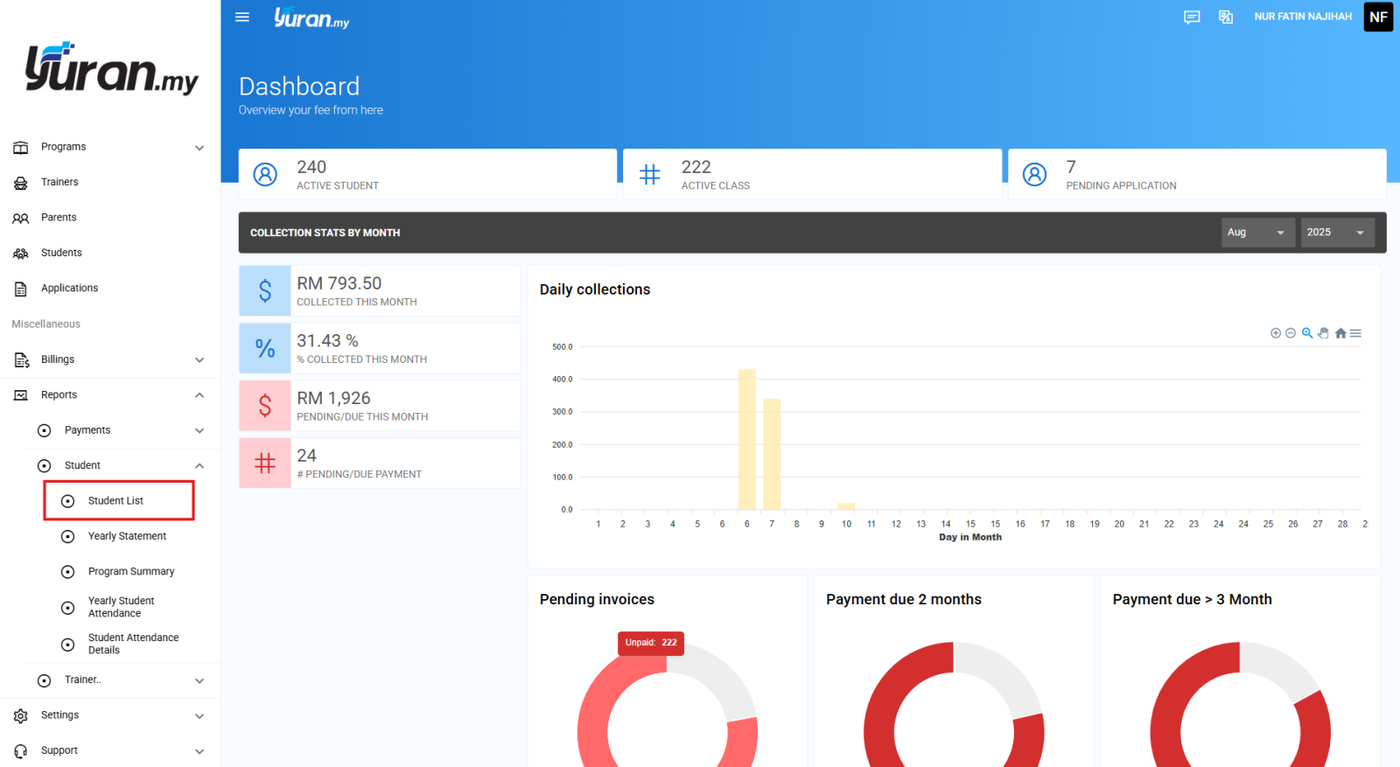
Step 2: Once clicking the Player List, the Player List Report page will appear.
Step 3: Click the Export CSV button to export the report into the Excel file.
* Export CSV button
Step 4: Click the Print button to print the Payment Listing report.
* Print button
5.1.9 How to Generate the Yearly Statement Report for Student/Player/Asset?
Step 1: Click Player/Student/Asset > Yearly Statement at the left panel under Reports category.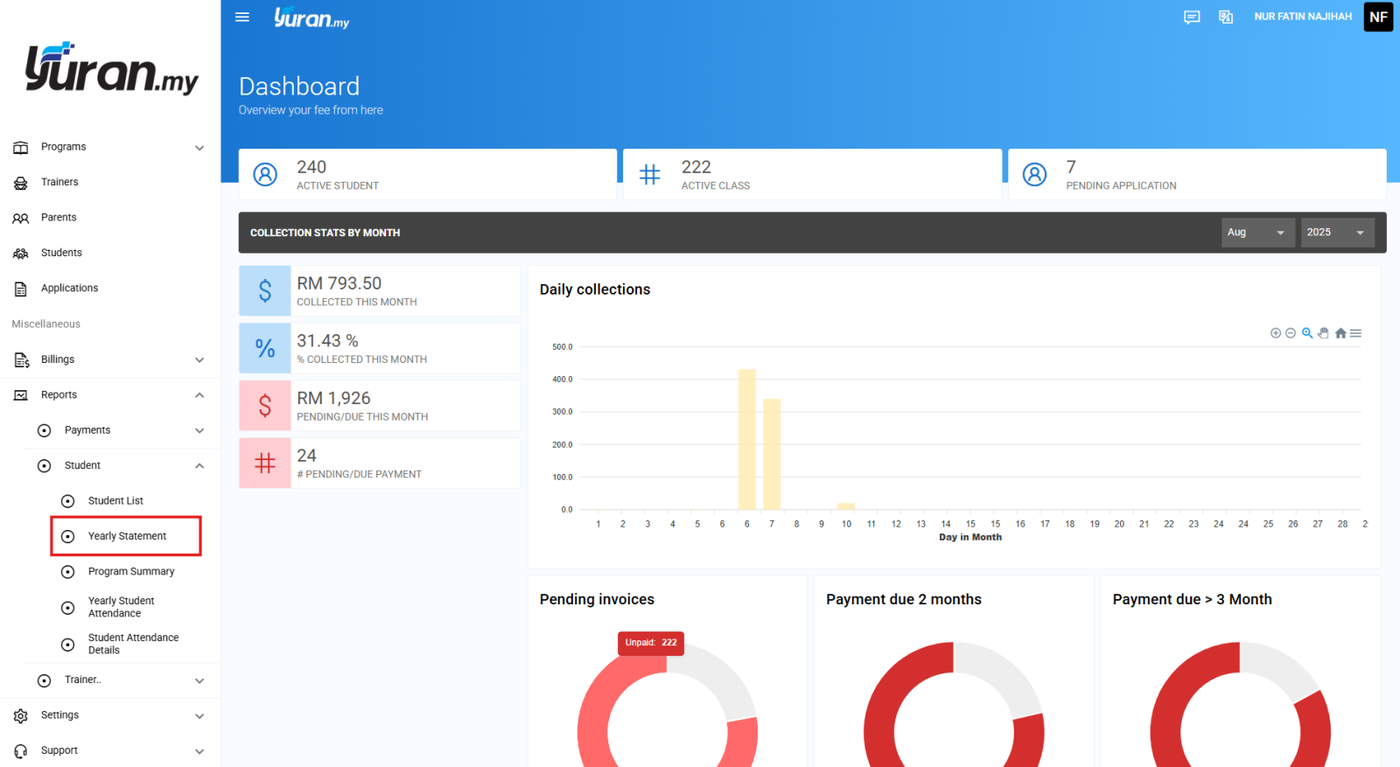
Step 2: Once clicking the Yearly Statement, Player Yearly Statement page will appear.
Step 3: At this page, user able to generate the Player Yearly Statement report by filtering them with Player or Date. Then, click the Generate Report button.
* Generate Report button

5.1.10 How to Generate Program Summary Report?
Step 1: Click menu Reports>Students>Program Summary at the left panel under Reports category.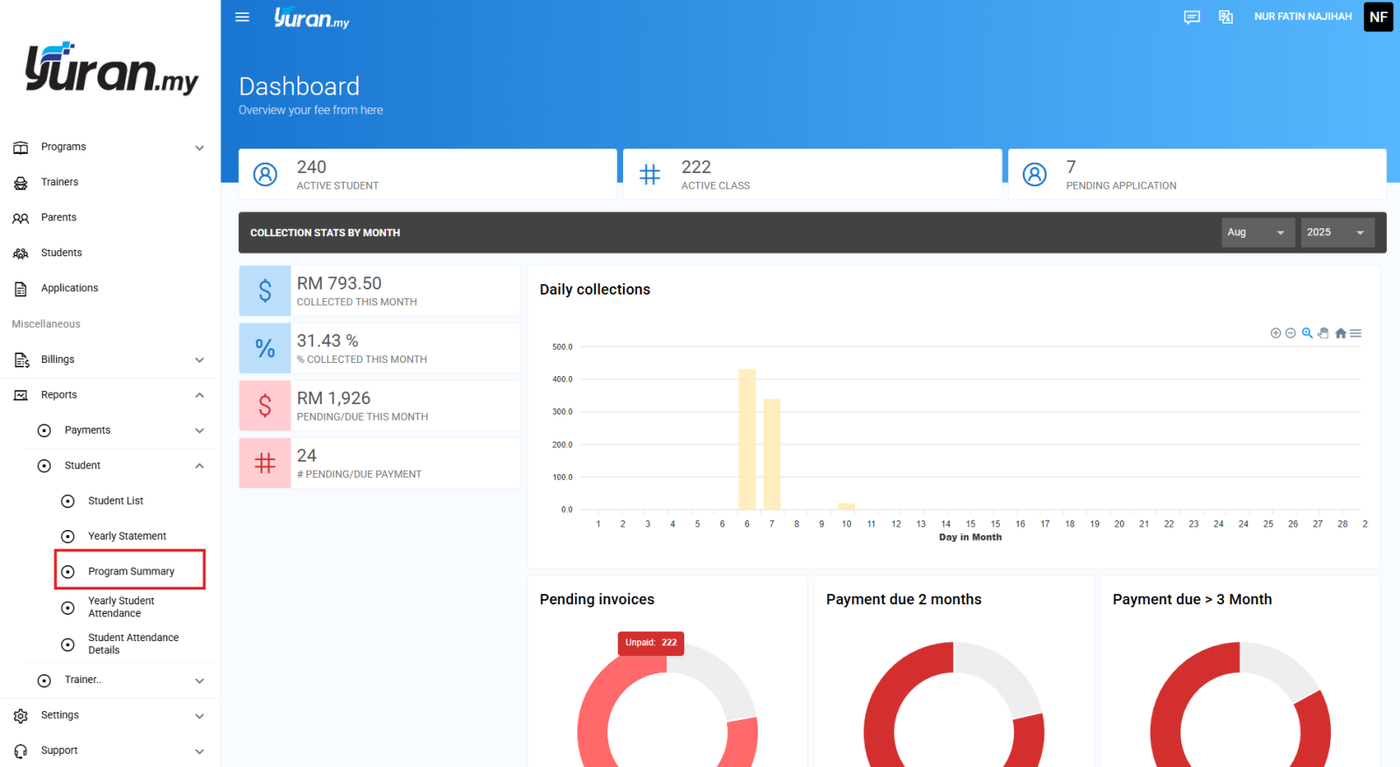
Step 2: You are able to view the Program Summary reports.
Step 3: Click the Print button to print the Payment Listing report.
* Print button
5.1.11 How to Generate Yearly Student Attendance Report?
Step 1: Click menu Reports>Students>Yearly Student Attendance at the left panel under Reports category.
Step 2: Click Generate Report button to view the attendance yearly report details. You are also able to filter the report by Start Date, End Date, Class, and Session.
Step 3: Click the Export CSV button to export the report into the Excel file.
* Export CSV button
Step 4: Click the Print button to print the Yearly Student Attendance report.
* Print button
5.1.12 How to Generate Student Attendance Details Report?
Step 1: Click menu Reports>Students>Student Attendance Details at the left panel under Reports category.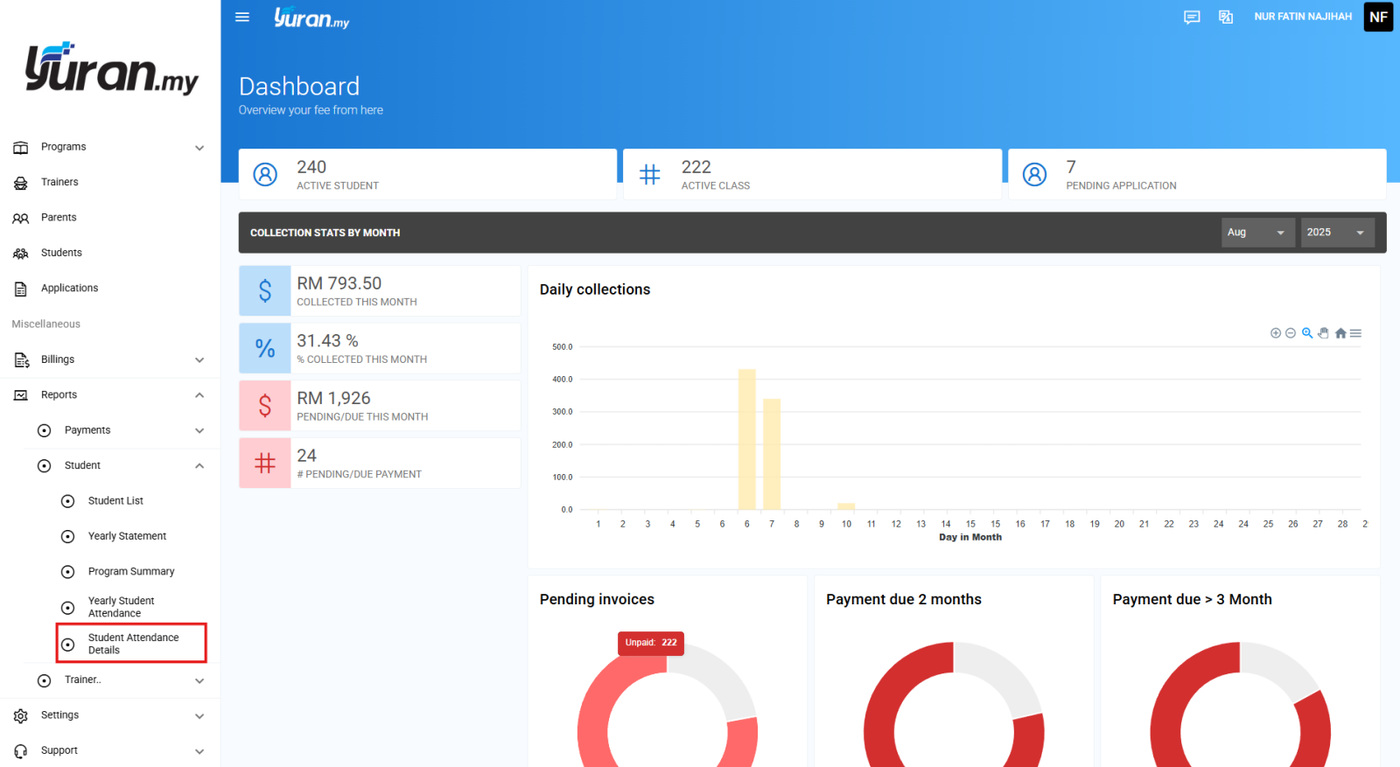
Step 2: Click Generate Report button to view the attendance yearly report details. You are also able to filter the report by Start Date, End Date, Student, Class, and Session.
Step 3: Click the Export CSV button to export the report into the Excel file.
* Export CSV button
Step 4: Click the Print button to print the Yearly Student Attendance report.
* Print button
5.1.13 How to Generate the Attendance Report?
Step 1: Click Trainer > Attendance at the left panel under Reports category.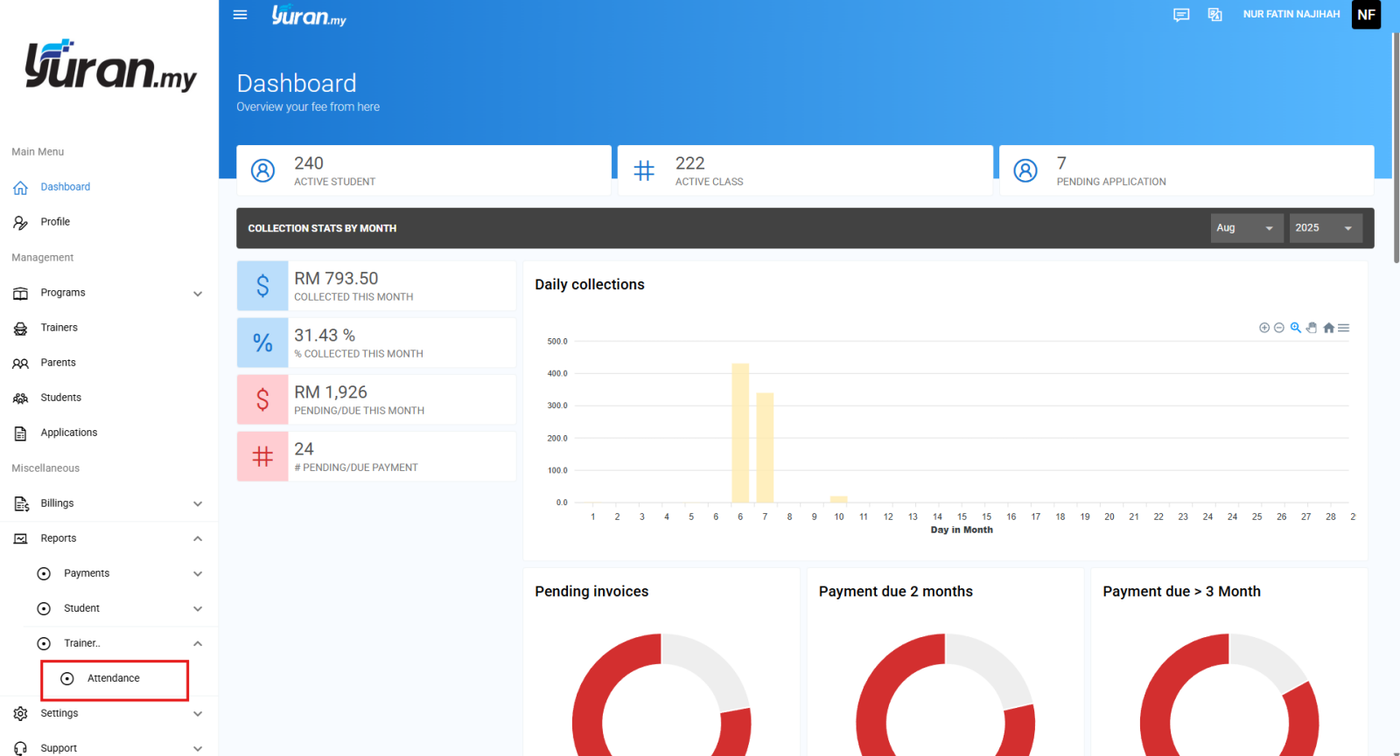
Step 2: Once clicking Attendance, the Attendance Report page will appear.
Step 3: At this page, user able to generate the Attendance report by inserting the Year, Month, and Trainer. Then, click the Generate Report button.
* Generate Report button

5.2 Announcement
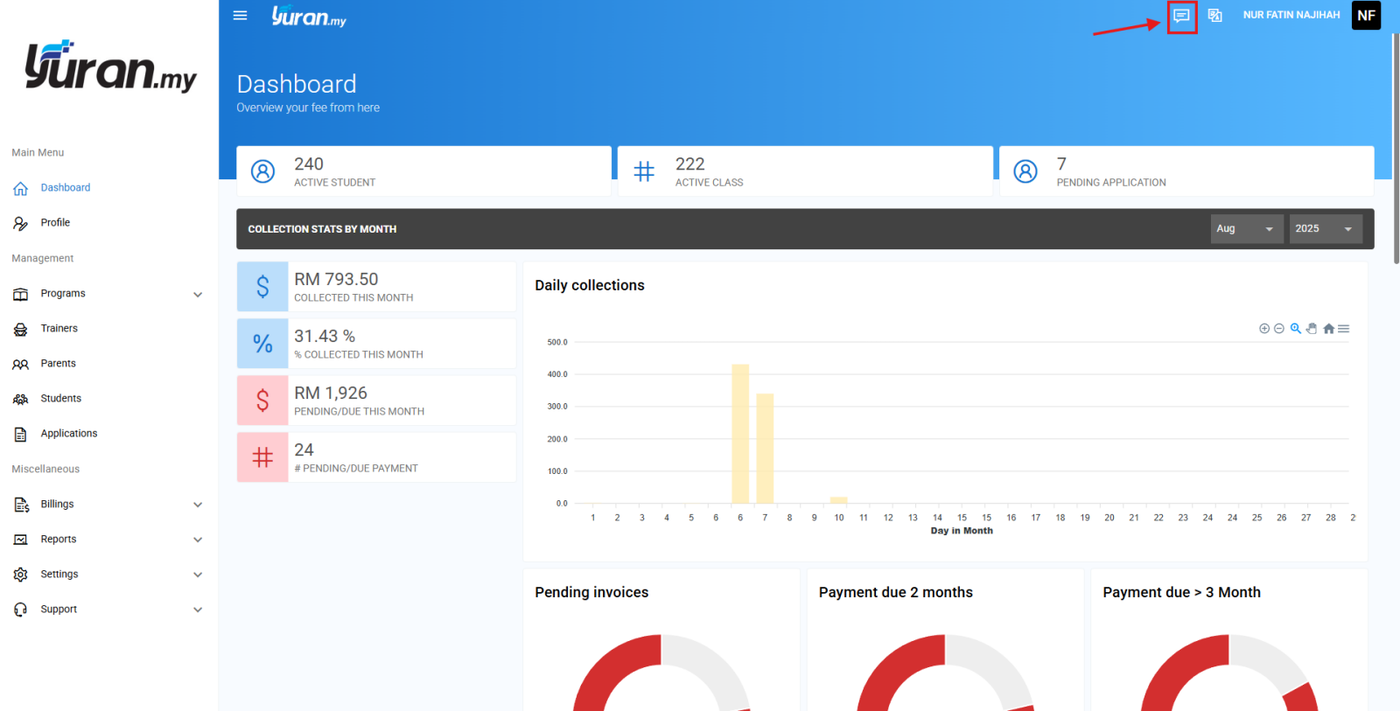
5.2.1 How to Create a New Announcement?
Step 1: Click the Announcement icon on the top of the Yuran.my System page.
* Announcement icon

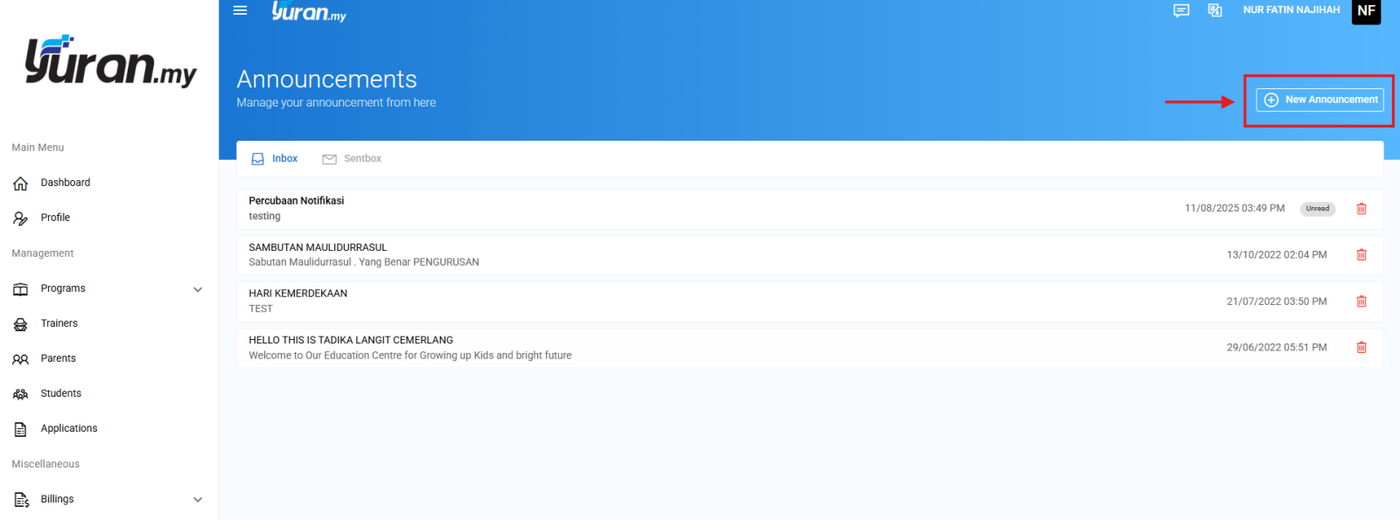
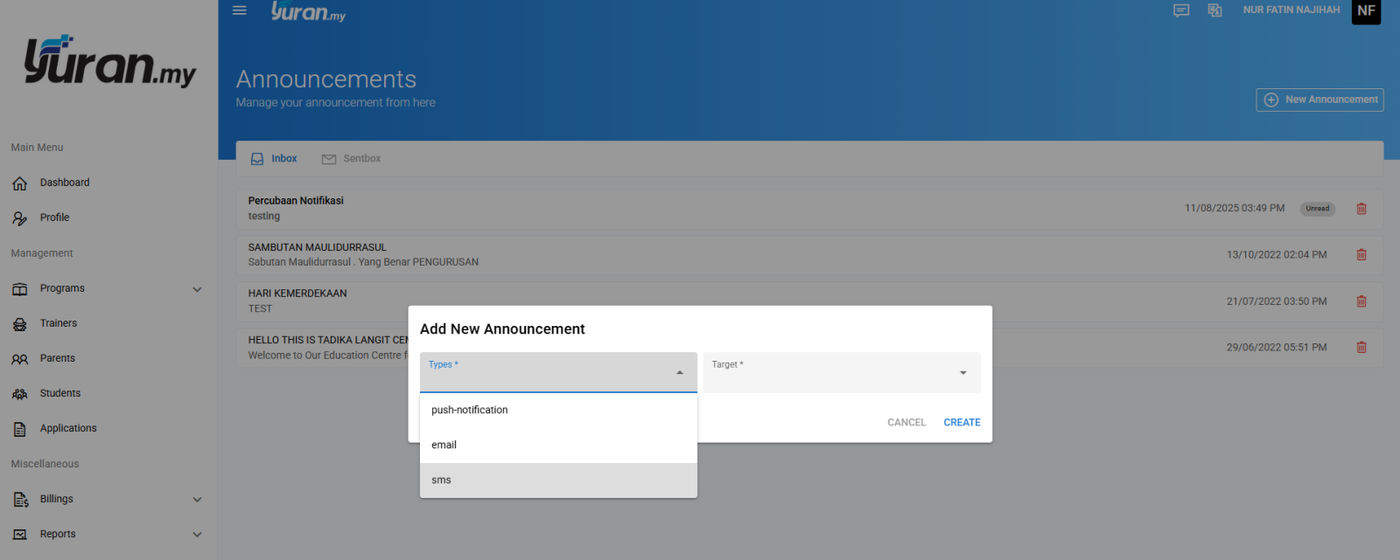
Step 2: Click the New Announcement button and Add Announcement form will appear.
* New Announcement button

Step 3: At this page, user able to choose the Types of Announcement (Push-notification, Email, SMS and the Target users (all users, users, subjects, active-parents, active-trainers, active-staffs, active-students, inactive-students).

Step 4: Once selecting the Types (eg: Email), and Targets (eg: users), the Add Announcement form page will extending with the Target IDs and Email Notification to create the Announcement.

Step 6: After choosing your Target user and edit the Email form to create announcement, Click Create button to send the email to the targeting user.

5.2.2 How to View the Existing Announcement?
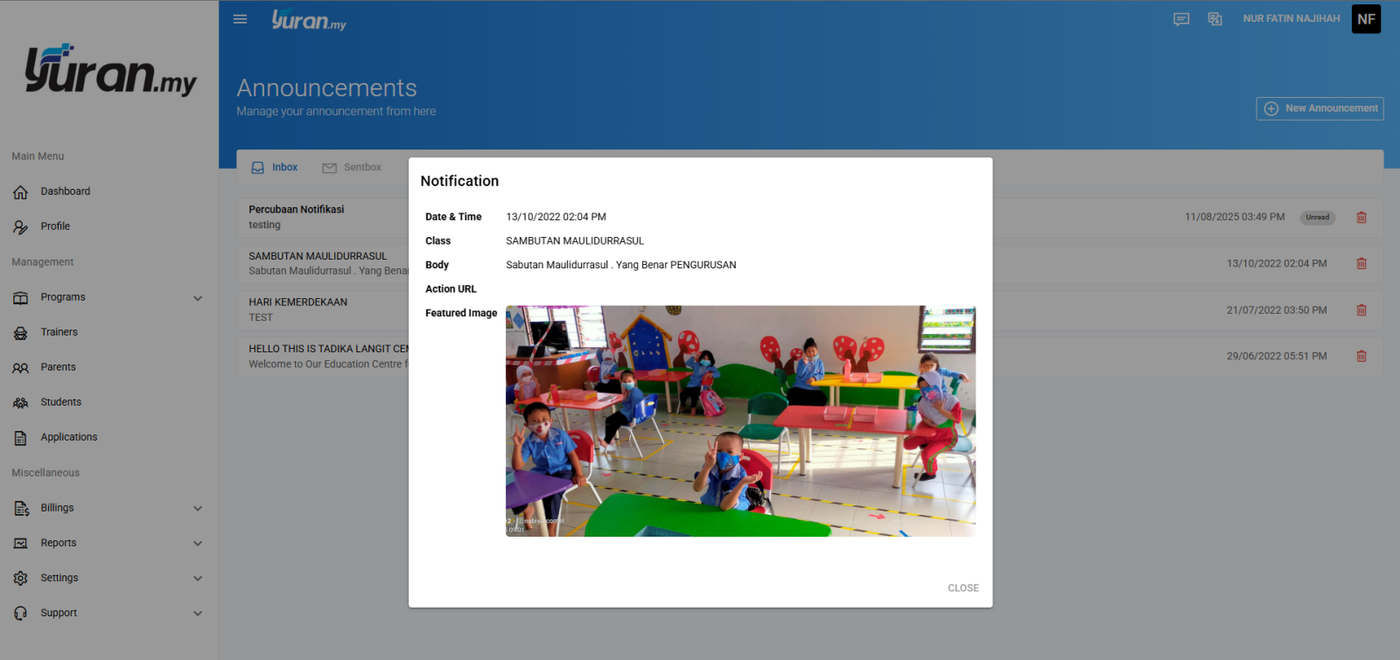
Step 1: The created email will appear on the Sentbox under the Announcement page.

Step 2: Click on the Announcement that has been created to view more details about the announcement.
5.2.3 How to Delete the Existing Announcement?
Step 1: Click on the Delete icon to delete the created announcement at the Sentbox page.
* Delete icon

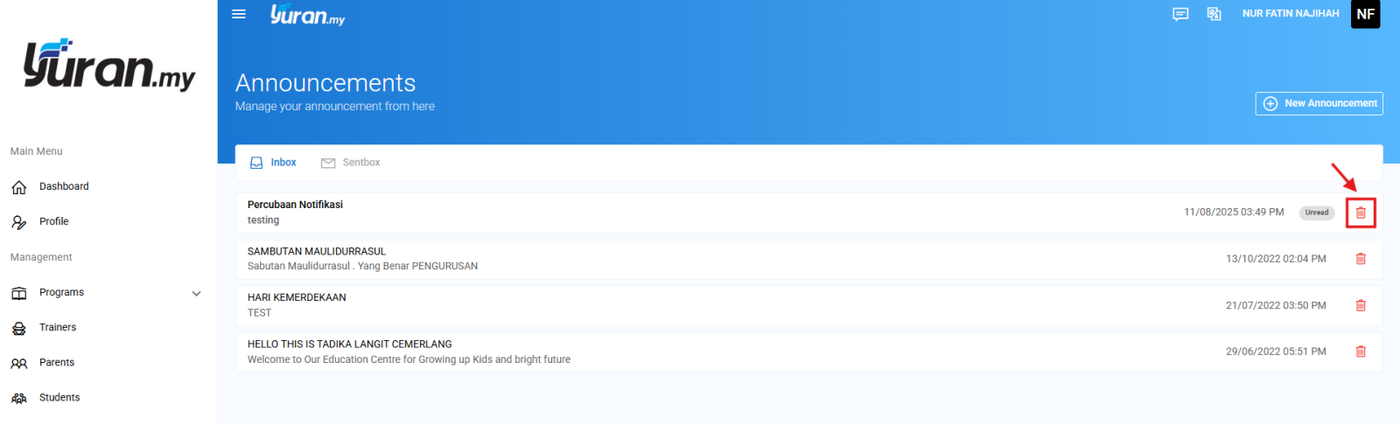
Step 2: Once clicking the Delete icon, a delete message will appear as a confirmation.

Video Tutorial
5.4 Credit Top Up
5.4.1 How to Top up Credit?
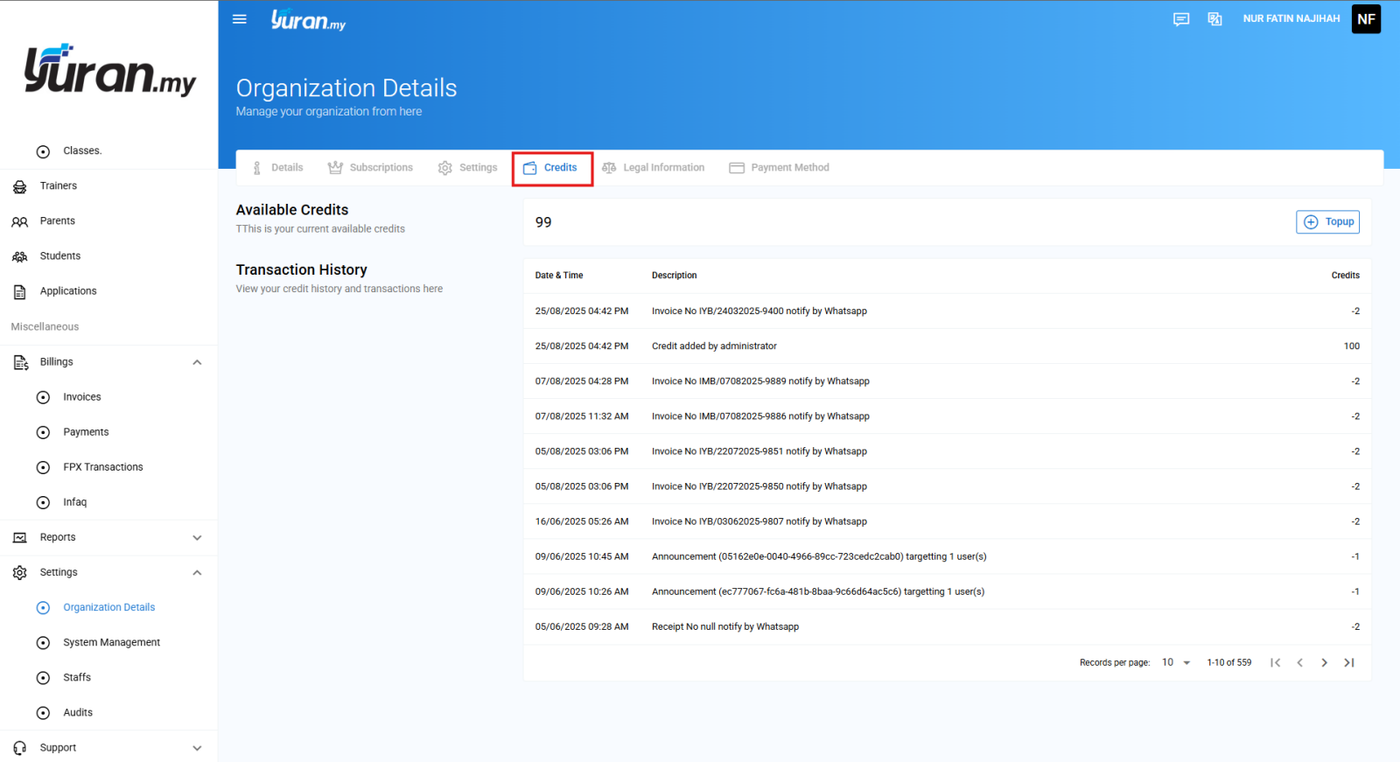
Step 1: Click Organization Details menu under Setting category at the left panel.
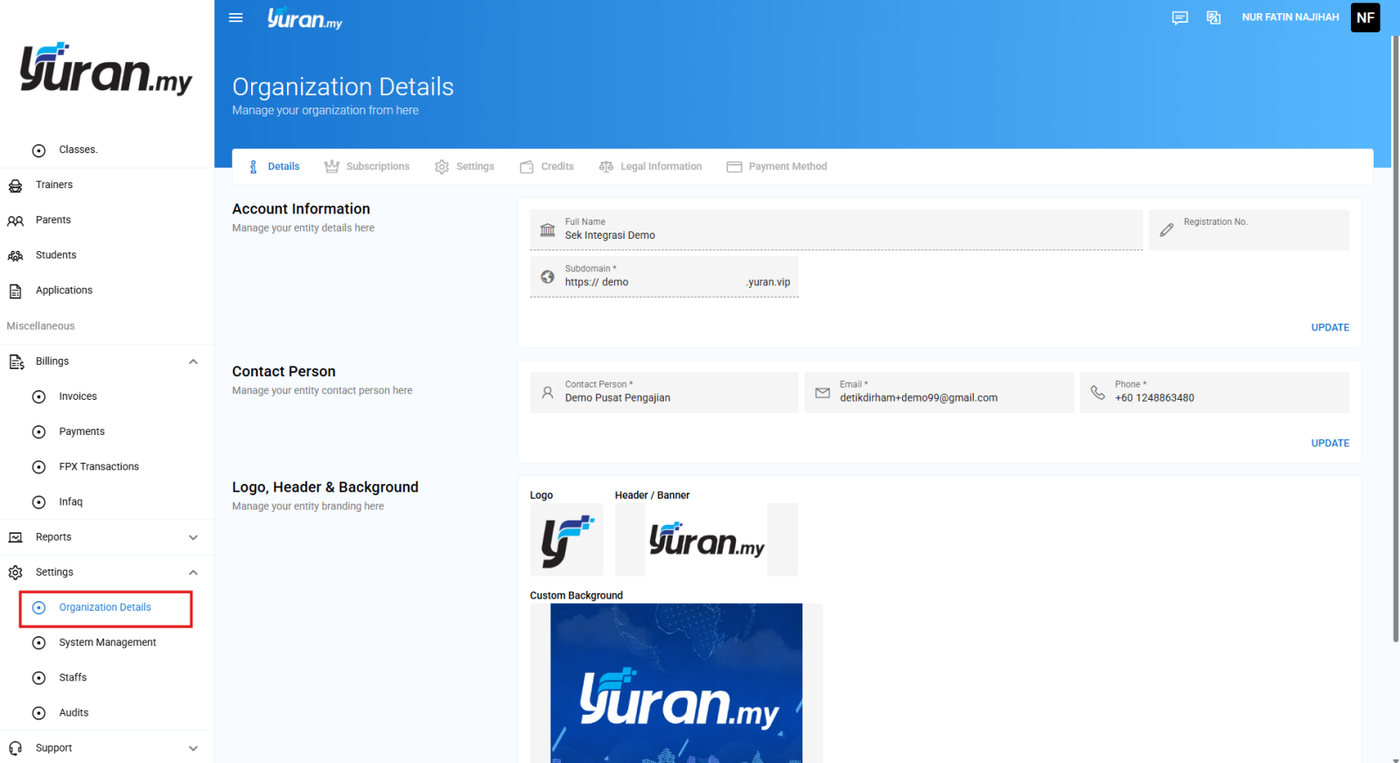
Step 2: Click Credits navigation to manage the Available Credits or Transaction History.
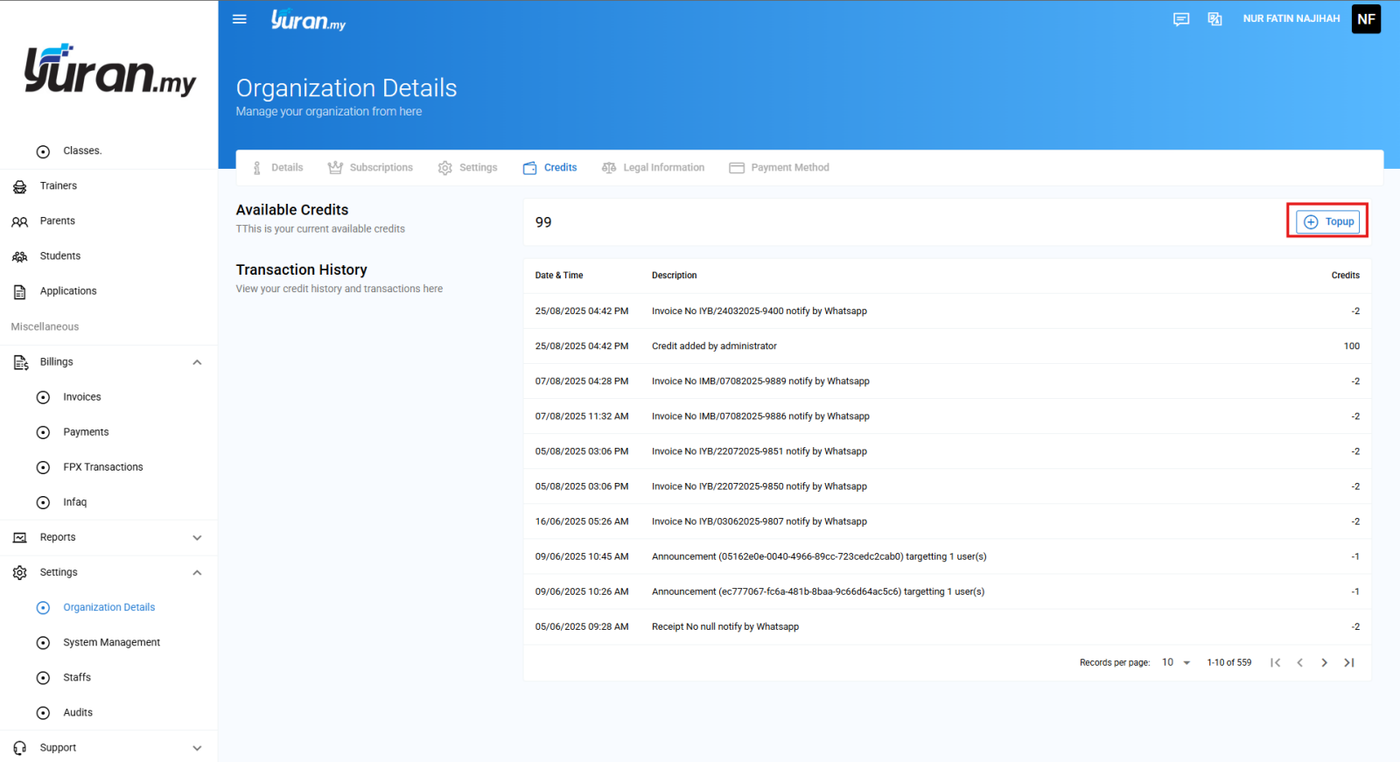
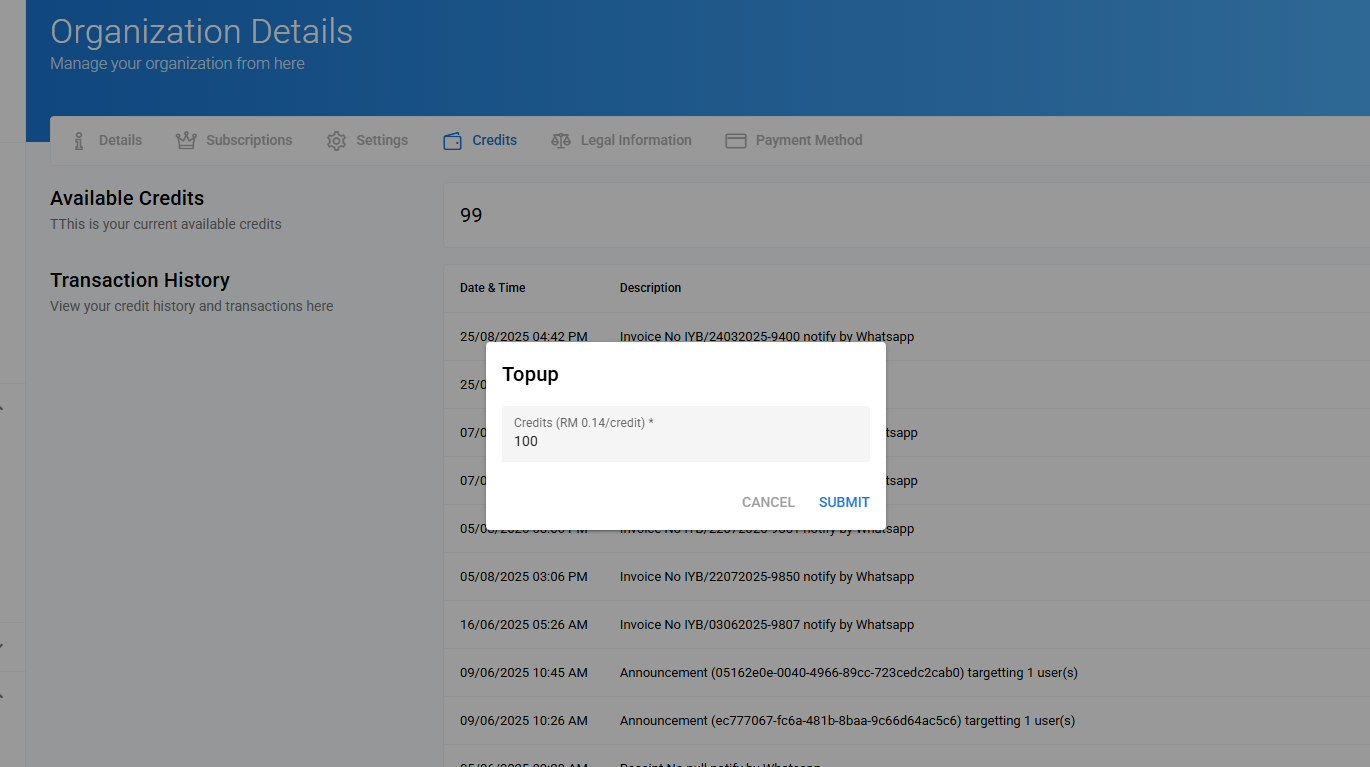
Step 7: Click Topup button on Available Credits to topup your credits.
Video Tutorial:
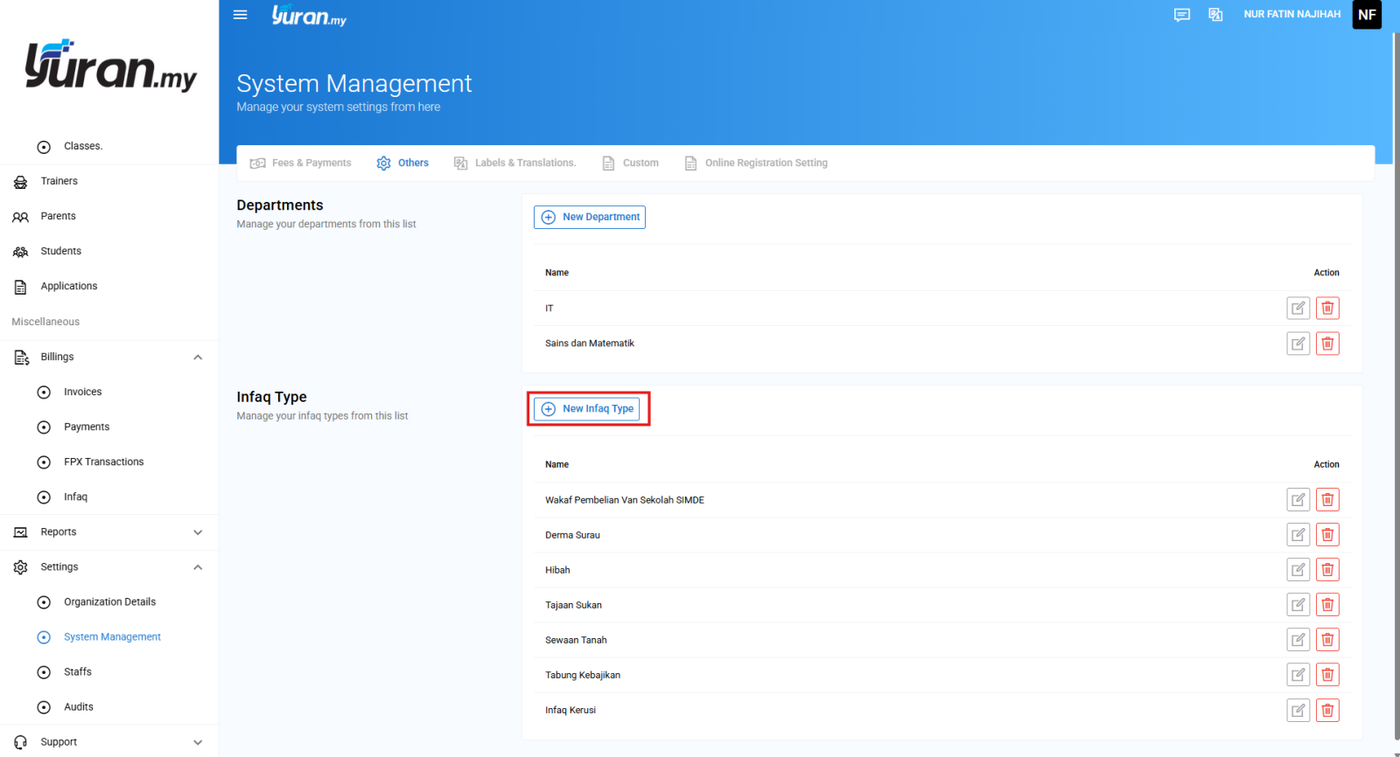
5.5 Infaq
Step 1: Click System Management menu under Settings category at the left panel.

Step 2: Click Others navigation to manage Departments or Infaq Type.
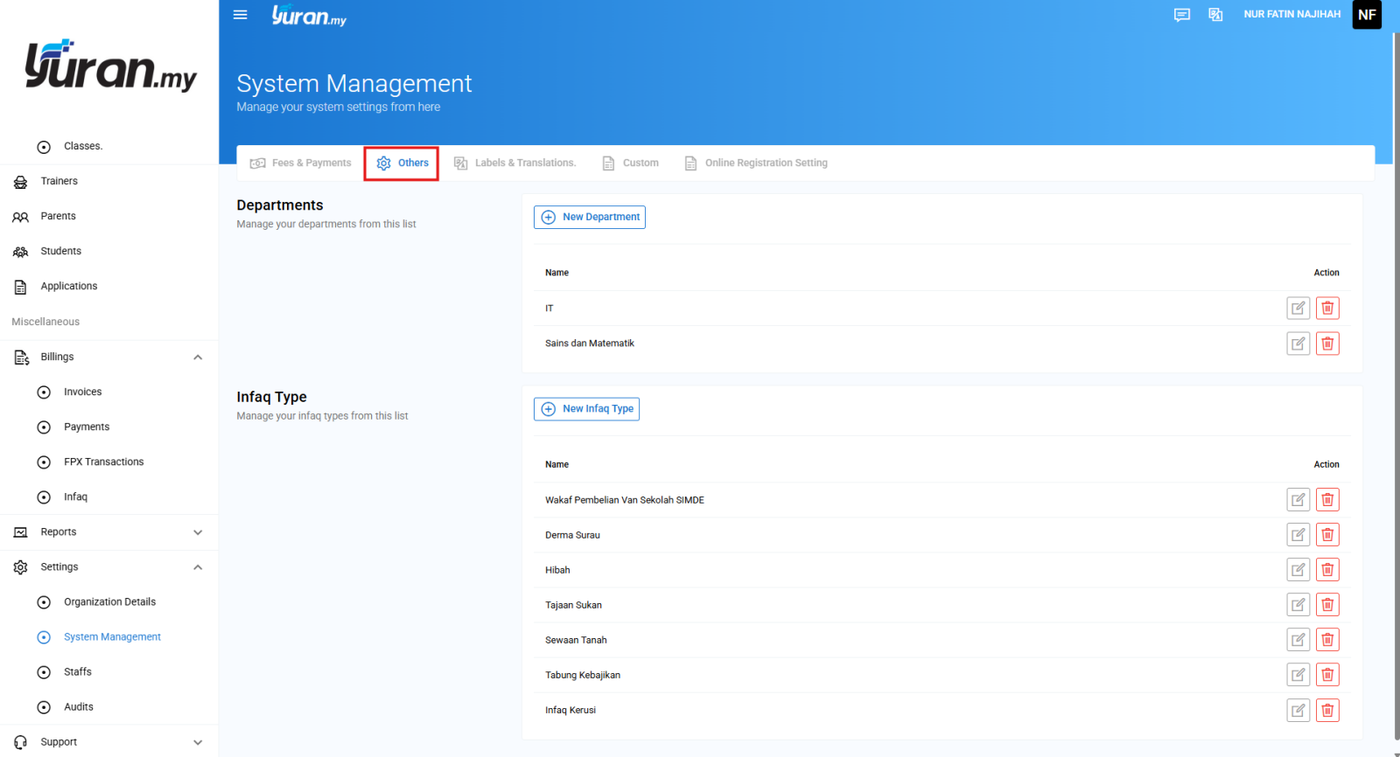
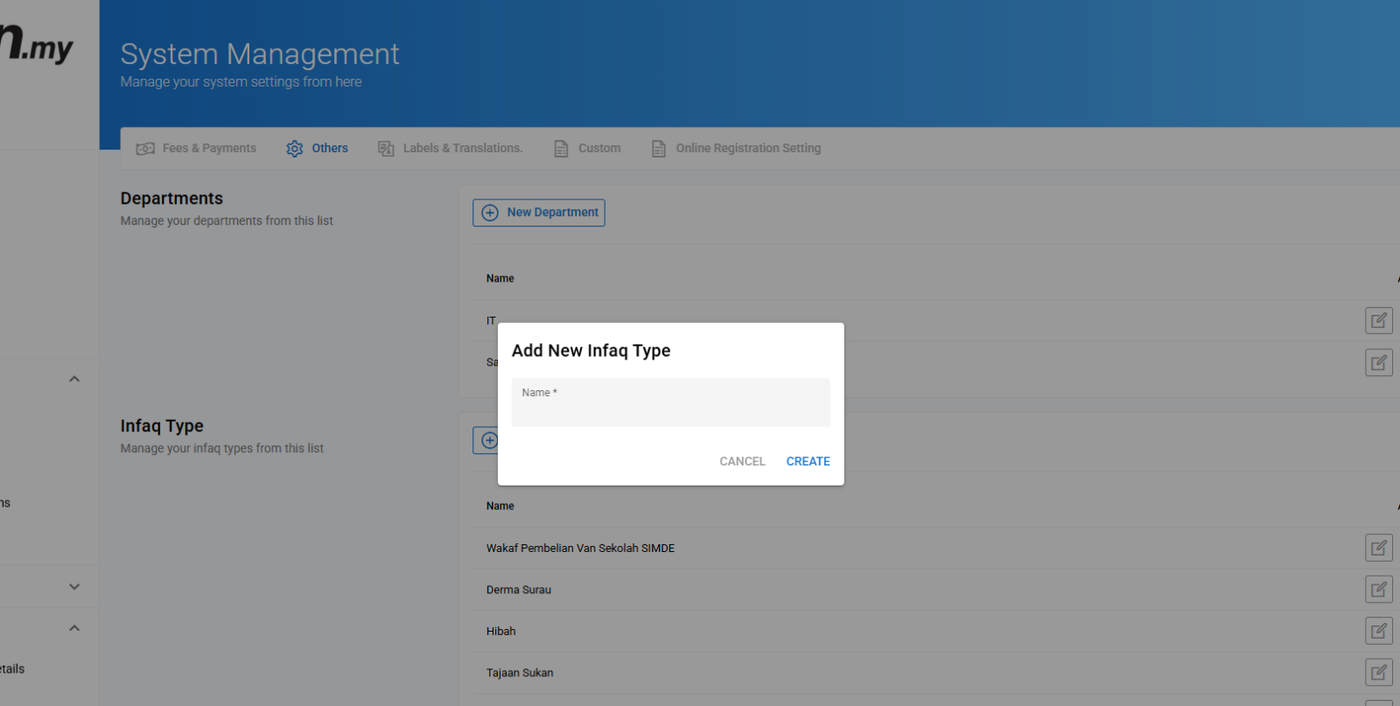
Step 3: Click New Infaq Type button to create a new infaq type.
Video Tutorial